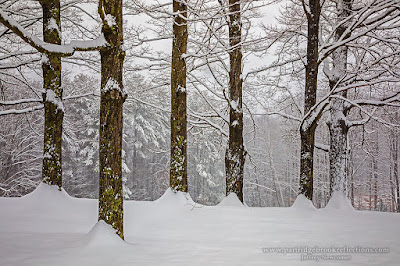
 So
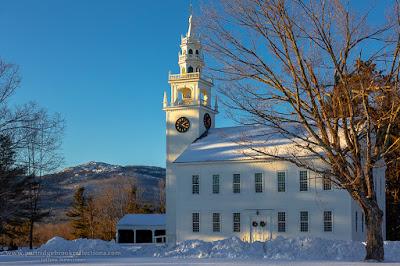
far this has been a great winter for photographing the snow. We have been hit
by several storms, creating a nice clean cover of white, and the fridge
temperatures have allowed the snow and ice to stick to the trees creating a
classic “Winter Wonderland”.
 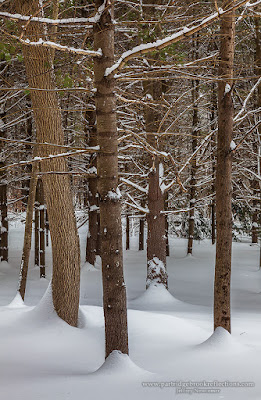 I
love shooting in the snow. The dark trees, stone walls and buildings
stand in stark contrast to the brilliant white of the snow. It creates
scenes of near pure black and white, but the few remaining colors can stand
apart in subtle relief. It is all crisp and beautiful, but too often the
snow can appear washed out without showing any detail. Happily, there are
several post-processing tools that can bring out enough highlight contrast to
show the interesting detail in the white cover. I discussed some of these
techniques in the past, but with all the winter wonderland outside, it seems
like a good time to review the wonders of snow photography.
First, Get
it Right in the Camera
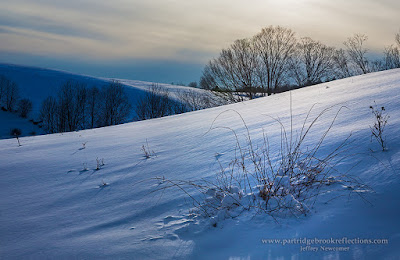 Left
alone, your camera’s light meter will do what it has been taught to do, it will
adjust the exposure to average everything, including your brilliant white snow,
to a muddy middle gray. Like when shooting on a bright sandy beach,
you will need to increase the exposure by a stop or two.
 The important thing is to avoid overdoing the adjustments and blowing out the highlights. It is great to shoot to the right, but use your histogram to assure that detail is left in the highlights. The picture in your camera’s LED screen may look overexposed but the right shifted image will give you the best control over contrast in the final edited image. Trust the Histogram!!
Now
that you have the perfect image from the camera you can start working to
increase the contrast in the snow. The goal is to see the detail that was
visible in the field.
Lightroom
 |
| Unedited RAW Image in Lightroom |
Let’s
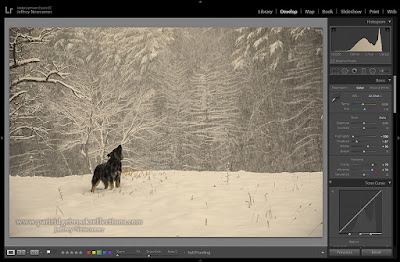
start with the dramatic image of the dog howling against the storm.
Actually, he may have been howling
against the photographer, but I prefer my story of the noble beast opposing the bitter elements. The picture showed the dog in nice detail, but the snow was
washed out. No detail was apparent.
The
goal is post-processing is to slightly reduce the brightness and
 |
| Highlight Adjustment in Lightroom |
enhance the
contrast in the snow, without excessive darkening of the mid-tones and shadows.
You never want to make the snow appear a
muddy gray. These days, my first
approach is to use Lightroom’s highlight slider. A combination of a
decrease of the highlights, darkening of the shadows and a subtle increase in the brightness
can often be enough to make the snow texture more visible. As with all of
these tools, the important thing is to avoid is over-doing the adjustments.
The goal is to show the snow as you remember seeing it in the field.
I
should mention that I work almost entirely in Lightroom CC Classic, but similar
adjustments of the highlights can be made in the new, cloud-based, Lightroom
CC.
Into
Photoshop
After
making my adjustments in Lightroom, I always bring my images into Photoshop for
final tweaking. This often means working further on the appearance of the
snow.
Curve
Adjustments
 |
| Curves Adjustment |
Detail
in the snow may be enhance with a selective adjustment with the Curves tool – a
reduction in the highlights while protecting the darker tones. Here I used a mask to limit the effect to the
foreground snow area.
Shadow/Highlights
 |
| Shadow/Highlight Tool in the Image Drop-down |
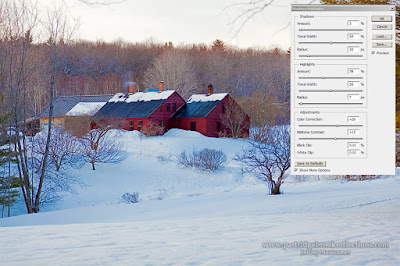
The
Shadow/Highlights tool is a remarkable instrument for selectively controlling
the highlights and shadows in an image. Its effects are applied over the
entire image, but I always apply the tool on a separate image layer to allow better
control of the effect through masking and adjustment in opacity. The tool is found in the Image drop down menu
under Adjustments. Separate controls are available to brighten
shadows and darken highlights, with the Tone sliders controlling the tonal range
over which the adjustments are applied.
 |
| Shadow/Highlights Tool |
 |
| Limiting the Effect to the Snow with a Layer Mask |
The
Highlights adjustment does a great job bringing out the detail in snow, but
again the key is to avoid overdoing the change.
In the howler image I pushed the adjustment slightly beyond the level
that I thought was optimal and then made a final adjustment by pulling back on
the opacity of the layer, and limiting the area of the change with a mask. By masking the background, I was able to protect the soft appearance of the distant trees.
Pushing too far on the highlight adjustment can result in unnatural appearing edges, especially in areas of high contrast, but, by making preliminary highlight adjustments in Lightroom or with curves in Photoshop, the final Shadow/Highlight modification need not be as strong.
Pushing too far on the highlight adjustment can result in unnatural appearing edges, especially in areas of high contrast, but, by making preliminary highlight adjustments in Lightroom or with curves in Photoshop, the final Shadow/Highlight modification need not be as strong.
 |
| Howl Against the Storm, Dummerston Vermont |
 Any
of these tools can be effective at bringing out the natural detail and interest
in fresh snow. Give them a try, after
all, tis the season.
Now
stay warm out there!!
Jeffrey Newcomer
