
Getting It Right in the Digital Camera
 |
| Michigan Ave Chicago, Skewed |
One of the most common problems in architectural photography is skewed perspective. When we look up at a tall building our brains process the image projected on our retinas so that we see the structure as expected, with straight vertical walls soaring into the sky, but cameras do not have our marvelously sophisticated cerebral processors. The camera dumbly sees converging vertical lines which usually only become glaringly apparent when the picture comes up on the monitor.
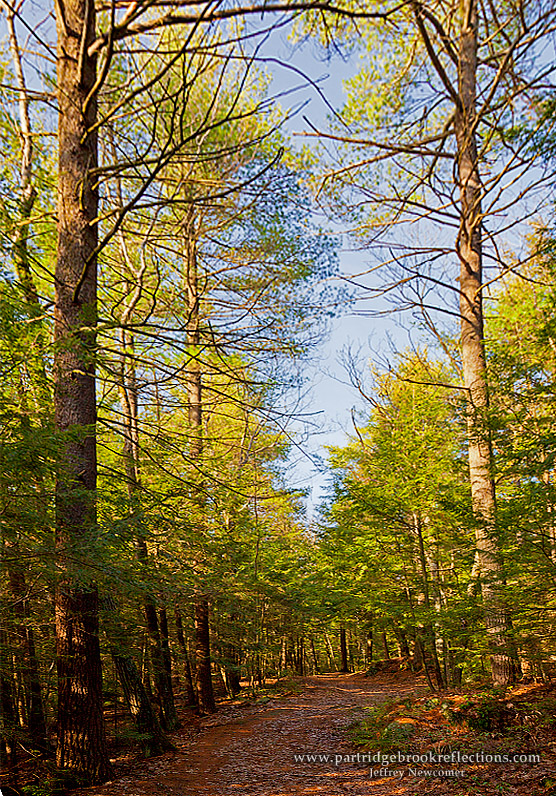
 Converging vertical lines, often called key-stoning, can also affect landscape photography. Tall trees appear to lean in menacingly when viewed upward from the ground and, although this is often an interesting effect, it does not reflect a natural appearance. Perspective control has been a challenge since the earliest photographic images, and solutions in the field are the same for film and digital imaging. The cheapest approach is to find an elevated view point such as a ladder, building or hillside, or by moving away from the subject, anything to reduce the upward angle of view. With a digital camera the effect may also be reduced by holding the camera above your head, using the LCD for framing. View cameras with independent front and back rise/fall adjustments and Tilt-Shift lens can compensate for these effects in a much more elegant and precise manner, but at a very hefty price. The new Canon Tilt-Shift 24 mm lens costs $2200 at B&H Photo. Happily, for those of us with budgets less that a small industrialized country, the digital darkroom provides some effective and inexpensive solutions. Really, Photoshop is much cheaper than $2200!
As always the process starts in the field by getting it right in the digital camera. The end result of any required post-processing will be much more natural in appearance if the severity of the original distortion can be minimized by adjusting camera position and angle. It is also important to remember that digital adjustments of perspective inevitably require cropping around the edges of the image. When capturing a picture that will need perspective adjustment it is helpful to pull back on the framing, providing a buffer for the eventual crop. Again this will not produce the best picture "straight from the camera", but it will save a ton of arduous cloning later.
Once you get home, perspective adjustment is actually quite straight forward. The following specific procedure applies for recent versions of Photoshop, but the concepts will be applicable to other photo editors.
Getting Ready
- First it is important to make the perspective adjustment
early in the editing process. If you try to do this after you have
applied masked adjustment layers, the masks will no longer match the
proportions of the image layer and will have to be redone.
- Start by correcting any rotation in the image. Perspective adjustments will be simplified if the horizon starts out flat and any vertical lines in the center of the image are plumb. Check out my blog on an easy way to straighten horizon lines.
 To make room for adjustments it is helpful to reduce the size of the image on the screen creating "gray space". Without this space the selection handles may quickly disappear outside of the image window.
- Press (Alt+") to apply a grid to the image. This will help in applying a more precise adjustment.
- Create a selection of the entire image (CTRL+A) or "Select All" from the Selection drop down menu.

The Magic
 |
| Choose "Perspective" or "Skew" |
- In "Edit" menu >Transform> then choose either "Perspective" or "Skew".
 Drag the upper right and left corner handles outward to correct the key-stoning. When the "Perspective" tool is used, pulling one handle causes the other side to move as well. This applies the same adjustment to both sides of the image, but I prefer to use "Skew" in this operation since the handles can be moved separately to more precisely and independently adjust each side.
- Press enter when the perspective appears best and Photoshop's rendering will begin.

- When finished press "Ctrl+D" to deselect.


Finishing Touches
The image can now be cropped to the desired proportions. If the original image was framed too tightly cloning may be necessary to salvage lost pixels on the edges.

Of course there is a price to be paid for shoving pixels around in such aggressive ways. The proportions of the components of the image are unavoidably altered especially when more drastic adjusts are required. In the farm picture, the tractor became noticeably squatter in the altered image, but, in the final picture, I was able to minimize the effect by extending the vertical dimension upward using the "Scale" tool. Unfortunately, when drastic adjustments are required, the areas that are subject to the greatest stretching can begin to loose sharpness. This is where minimizing the "key-stoning" in the camera can be critical to a good post-processing result.

 |
| Loss of sharpness in the stretched upper region |
That's all there is to it. Now, take the money you saved on a tilt-shift lens and buy me dinner. You pick the place.
Jeff a great article for correcting Key-stoning I've tried framing differently so many times am saving this to try.
ReplyDeleteI’m going to read this. I’ll be sure to come back. thanks for sharing. and also This article gives the light in which we can observe the reality. this is very nice one and gives indepth information. thanks for this nice article.digital camera
ReplyDeletevery interesting post.this is my first time visit here.i found so mmany interesting stuff in your blog especially its discussion..thanks for the post.Black Friday Polaroid Camera Deals
ReplyDelete