About Me

My photo
Spofford, New Hampshire, United States
Jeff Newcomer had been a physician practicing in New Hampshire and Vermont for over 30 years. Over that time, as a member of the Conservation Commission in his home of Chesterfield New Hampshire, he has used his photography to promote the protection and appreciation of the town's wild lands. In recent years he has been transitioning his focus from medicine to photography, writing and teaching. Jeff enjoys photographing throughout New England, but has concentrated on the Monadnock Region and southern Vermont and has had a long term artistic relationship with Mount Monadnock. He is a featured artist in a number of local galleries and his work is often seen in regional print, web publications and in business installations throughout the country. For years Jeff has published a calendar celebrating the beauty of The New England country-side in all seasons. All of the proceeds from his New England Reflections Calendar have gone to support the Pulmonary Rehabilitation Program at the Cheshire Medical Center. Jeff has a strong commitment to sharing his excitement about the special beauty of our region and publishes a blog about photography in New England.
Showing posts with label focus stacking. Show all posts

Friday, May 1, 2020

Bringing Spring Indoors


Rhododendron Bloom
In my last two articles I encouraged you to get outside to photograph the constantly changing signs of the exploding New England spring.  It is a great excuse to escape our claustrophobic pandemic isolation.  The buds are swelling, breaking open and showing signs of early spring color.   It is all out there for you to explore, but now I would like to suggest that you bring some of that beauty back indoors. 

Challenges of Outdoor Macro Photography
Last time I discussed some of the problems of outdoor macro photography.   Most importantly, it is often difficult to find a satisfactory balance between a small aperture to provide good depth of field and a short shutter speed to freeze motion.  This can be especially challenging in low light situations, but bright light can cause its own problems with stark shadows and blown-out highlights.  Photography is all about finding the best compromises, and with care and patience great images of nature’s fine detail can be obtained outdoors.  But since we have been told to isolate, I thought it would be helpful to discuss the advantages of bringing macro photography indoors.

My Spring Floral Cheat
It is usually about this time every “normal” year that I head out for my springflower photography “cheat”.  I go to my favorite local greenhouse (Walker’s Farm in Dummerston Vermont) and, while Susan buys plants for the garden, I shoot an amazing variety of healthy flora, all indoors with soft diffuse light and no problems with the wind.  


The only major difficulty is keeping people from tripping on my tripod. I always get great shots and the plants are all labeled for easy identification.  It is simple, and I am never the least bit ashamed of my lazy deceit. Sadly, this year the damn Covid 19 has prevented me from visiting  the greenhouse, and I have been forced to create my own special environment.


Trans-Illuminating Autumn
My Sunroom "Studio"
A few years ago, I decided to bring a selection of autumn leaves indoors to use trans-illumination to highlight their brilliant colors.  My setup was simple, a  bright light, a piece of black mat board and my macro lens.  In that situation, I was shooting with the light shining through thin leaves and the effects were stunning.  To avoid difficulty with depth of field, I pressed the leaves flat before shooting, and with the camera on a tripod, I could shoot with a small aperture.  My only real challenge was to get Susan to allow me to clutter half of our sunroom for the project.


Illuminating Spring

Over the last week I have worked to reproduce my indoor lighting to shoot the developing spring flora, and Susan is happy that I can set things up in my barn studio.  I do not have the focused tensor lamp that worked so well for my autumn leaves, but I found that the intense trans-illumination was not as important. 


 Unlike the flattened autumn leaves, spring buds and flowers have greater dimension and are more opaque.   To achieve balance illumination, I found that I needed to add a variable amount of front lighting, with one of my LED studio lights.  I kept the large light source close, allowing the light to wrap around the subjects.  


Focus
Maple Buds

In the controlled Indoor setting, focus was much easier to manage.  I could enlarge the depth of field with small apertures, routinely shooting at f32.  The diffraction associated with such small apertures can cause softening of image detail, but much of this can be corrected with sharpening in post-processing.


Single Image f 5.6
Even with small apertures, macro photography is associated with shallow depth of field, but a restricted DOF can be used to direct attention to a small area of the image.  Quite often this means leading the eye to the stamen.   A single exposure, with a small aperture, can be a pleasant solution, but when you want the entire subject to be sharp, focus stacking is a great solution.

Six Image Focus Stack


Focus Stacking
Six Image Focus Stack with Blended and Touch-up Layers
Focus stacking involves blending multiple images taken at different plains of focus.  I have discussed the details of this procedure in previous articles.  The technique is not complicated but does require the use of image editing software. If you are using Adobe software, Lightroom will not allow the required manipulation of layers, but  Photoshop simplifies the process of aligning, blending and touching up the images. 
  

Although variably focused images can be obtained in the field, it is much easier and more precise when in the controlled studio environment.  When both the subject and the camera are held stationary, a sufficient number of pictures can be obtained to result in sharply focused macro images.  Indoors, I routinely obtained six or more images each with subtle differences in focus and with greater numbers of layers the post-blending touch-up process was much less difficult.


Whether indoors or out, there are great photographic opportunities as our New England spring progresses.  Images captured in natural settings can be great, but consider experimenting with the control that comes with bringing those flowers and buds inside.  With a few simple tools, you will discover an exciting new world of detail and beauty.


Dogwood Bloom

Check out these links :


Jeffrey Newcomer NEPG
www.partridgebrookreflections.com


Sunday, August 13, 2017

Spray and Pray?


Bug Light, Portland Maine


I just returned from my annual trip to the coast and, as usual, I am drowning in images that require uploading, converting, renaming organizing and editing.  Why do I always come home with so many pictures?


Portland Head Light
Living in the landlocked center of New England I enjoy every opportunity to get back to the coast.  The rocky shores, the beaches, the quaint villages and of course the proud lighthouses all offer photographic choices that are very different from what I enjoy around home.  I love the “Currier and Ives” beauty of my Monadnock regions, but it is refreshing to be surrounded by different opportunities to challenge my eye. 

It isn’t surprising that, returning from 5 days on the coast, I have much work to do on the images.  I will be sharing more of my favorites in future articles, but today I want to ask a simple question that arose as I uploaded my images.  Why do I take so many pictures?


It took me a couple of days to upload my images from my coastal tour.
Floral Shore, Ogunquit, Me
Five Image HDR
 Over five days, I shot over 500 pictures which, at more than 20 megabits each, means that I had more than 10 billion pixels to manage.  I wanted to briefly discuss why it is that I took so many pictures on this, and actually ALL of my shoots.  Is it justified or just a manifestation of the classic “Spray and Pray” approach to photography. I would like to think that there are many good reasons to come home with piles of images.   Given the cheapness of pixels and the availability of inexpensive options for their storage, failure to capture all the images that are necessary is a disservice to the subjects

Spray and Pray

Change to "Spray and Pray"

For many casual photographers, digital imaging has encouraged the tendency to shoot randomly, without careful attention to light or composition. This “Spray and Pray” approach assumes that among the hundreds of images a few will come out ok.  After all, its only pixels and all the trash can just be deleted.   The problem is that this technique removes the photographer from the process and without creative input it is impossible to craft the best images.  If I wish to argue that's I am NOT a spray and prayer, I must suggest a few other reason to shoot mountains of pictures.

----------------------------------------------------------------------------------------

Different Angles and Compositions
Dummerston Covered Bridge
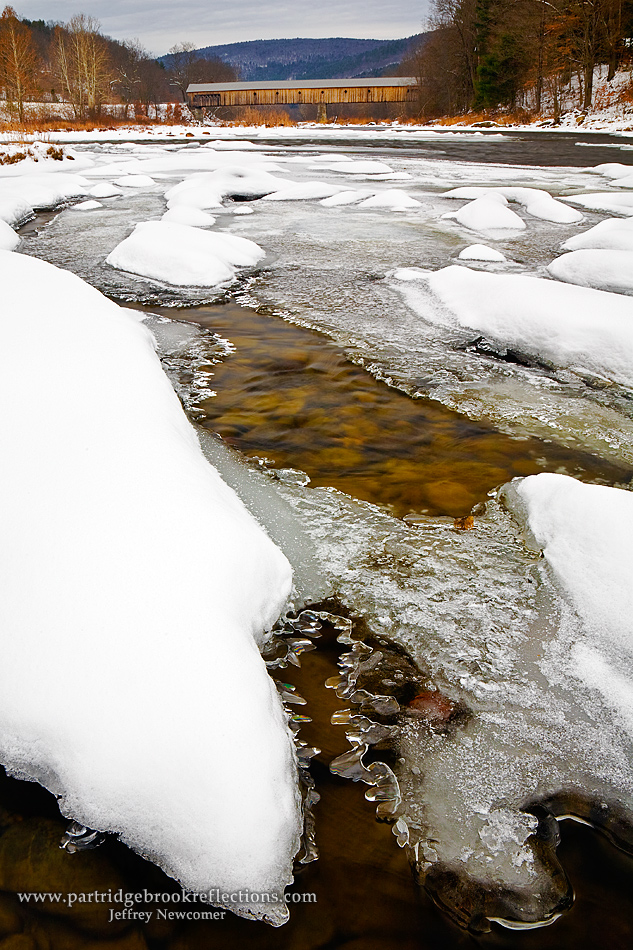
Perhaps the most obvious reason to capture lots of images is the need to “work the scene”, to explore as many different angles as possible.  I never feel that I have done my job until I have gone beyond the pretty picture postcard view and have explored the subject from different angles and perspectives. I typically start wide and then steadily move in on the detail.  Not every angle works, but I keep them all, because you just never know.


                     -------------------------------------------------------------
Nailing the Exposure, Bracketing, HDR
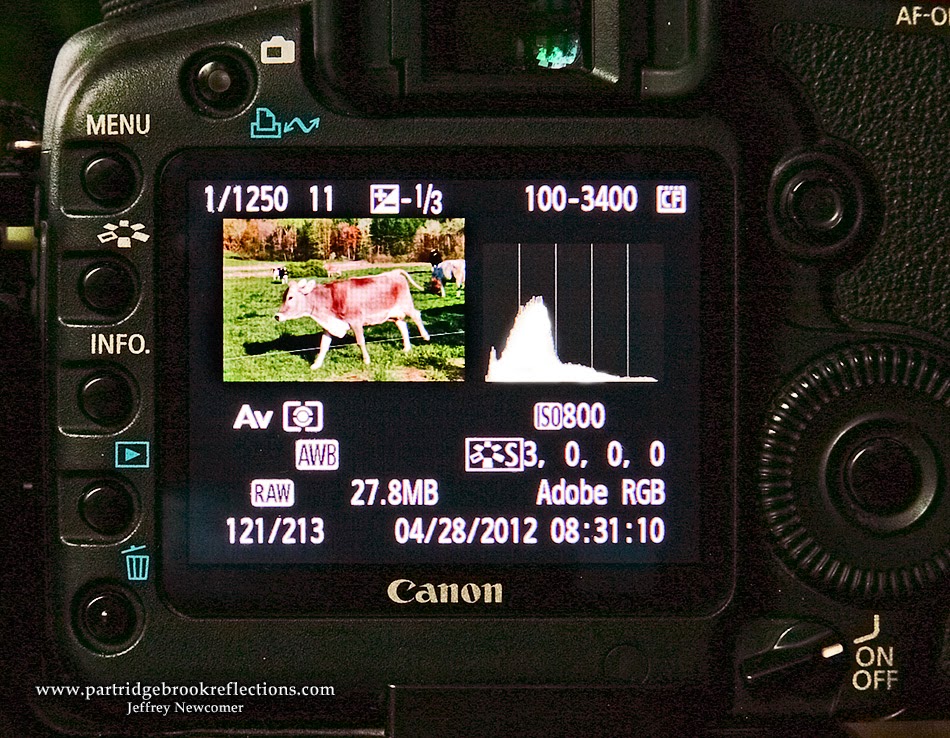
Back in my film days, I routinely bracketed my exposures.  Transparency film is famously unforgiving and I almost always grabbed one image above and one below the metered exposure.  Today, with the instant feedback of the Histogram, it is much easier to nail the exposure.  I still may take several images until I get my “perfect” histo, and I admit that I am not as rigorous as I should be in deleting the trial images – You never know.  


      HDR

This leads to a discussion of the collection of multiple, varyingly exposed, images gathered in anticipation of crafting an HDR picture.  This can require 5, 7 or more images, or just two, one exposed for the shadows and another for the highlights. It is somewhat like my old film bracketing, and on occasion, I will find one among the series that has sufficient dynamic range to be used on its own.  Of course, that doesn’t mean that I will throw the others away – You never know.

Hubner Farm, HDR and Tone-Mapped


                     -------------------------------------------------------------
Focus Stacking
Three Layer Focus Stack
Given the exposure control offered by digital photography, most of my current bracketing is based on obtaining a range of focus points.  I originally referred to this as “Focus Bracketing”, until I discovered that everyone else was calling it “Focus Stacking”.  “Stacking” refers to the ability to achieve impossibly wide depth of field by stacking together image layers with different focus points.  


Perkins Pond to Monadnock - Deep DOF


I often use focus stacking in situations in which extreme DOF is the goal. For almost all of the rest of my Images, I routinely grab at least three pictures, focusing on the foreground, mid-ground and background.  Again, I often find one of the images that captures sufficiently sharp focus throughout, but of course I keep the other images- You never know. 


                     -------------------------------------------------------------


Capturing the Moment
Any time, when the scene is changing, multiple images can be important for catching the perfect moment.  Running animals, flying birds, and racing athletes, are why your camera’s burst mode was created. 


Blue Heron Landing - Just the right moment


Last weekend, I was reminded of another use for bursts of images, the capturing of the waves.  Several years ago, I placed myself on a precarious

Best of the 70

outcropping to shoot the waves crashing on the rocks of Pemaquid Light.  It is never possible to reliably predict the moment of the most dramatic waves. By the time you see the perfect crashing wave, it is already too late to capture the event. The best that can be done is to shoot bursts of what seem to the most promising candidates. Before I was forced to run from the rising tide, I shot more than 70 pictures, to catch just two that were “heroic keepers”.  That is atypical ratio.  I should have thrown the others away, but you never know.


Pemiquid Crash


Bob's Floating Head
Finally, when taking group pictures, I always take multiple images.  There is always at least one person in every group shot who is talking, yawning or picking their nose.  As I click away, I ask the crowd to stay still, and then I can usually find an acceptable picture of the nose picker to clone into the final image. 

                     -------------------------------------------------------------

Getting a Steady Shot
Katy's Almost Perfect Technique
I go through a careful checklist of procedures to try to capture perfectly sharp images.  Equally important to sharp focus, is the requirement to hold the camera steady.  This is especially important when trying to handhold shots with longer shutter speeds.  My hand-holding technique includes the positioning of my body, cradling of the camera and a careful finger roll shutter release but still the pressing of the shutter button can introduce a slight vibration.  


Finger Roll Shutter Release
To help with this I tend to take a burst of at least two images on each shutter press. I’m not sure how much it helps. Sometimes the first image is the sharpest, but it makes me feel better, and I never - ever know. Obviously, this is not an issue with a cable release on a tripod, but I still have to remember to turn off the image stabilization feature.


                     -------------------------------------------------------------

The Picture Glut Equation (With acknowledgement to the Drake Equation)

Bug Light, Portland Maine

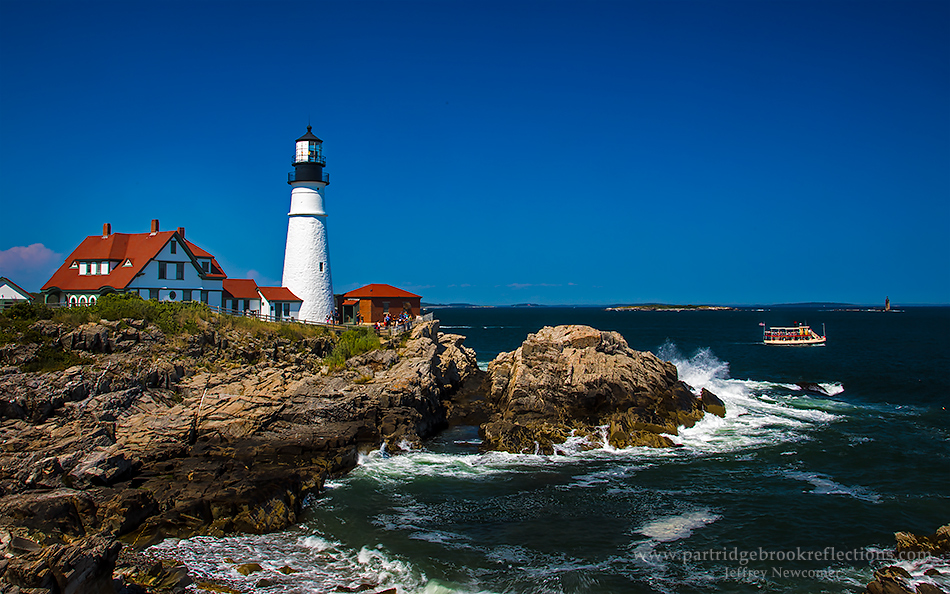
Ok, that is just a partial list of my excuses for bringing home so many images.  I am sure there are others.  Of course, many of these excuses can apply to the same scene progressively multiplying the pixel pile.  The Bug Lighthouse picture required about 90 images, including several for focus stacking of the lighthouse and rocks, many to obtain the best waves, and several to capture the ferry in the best location.


My picture glut formula may be loosely expressed as:


Number of Pictures = (Different angles) x (Exposure Searching) x (Focus Stacking) x (Action Bursting) x (Steadying Hand-Holding Bursts)

Of course, not every scene requires all of these factors, but let's put in some conservative, but totally reasonable numbers for an imaginary landscape scene:

(5 angles) x (6 exposures) x (3 focus points) x (0:no action here) x (2 hand steadying) = 180 images for one location 

It is amazing that I came home from the coast with so few images.  The point is that digital photography makes it practical to use as many images as is necessary to render the best representation of the scene.  Although they both involve taking many pictures, this careful, deliberate process could not be further from the careless, random approach of "Spray and Pray". 

Now if I can only force myself to get rid of some of those extra shots!
BUT, You just never know!

Jeffrey Newcomer