|
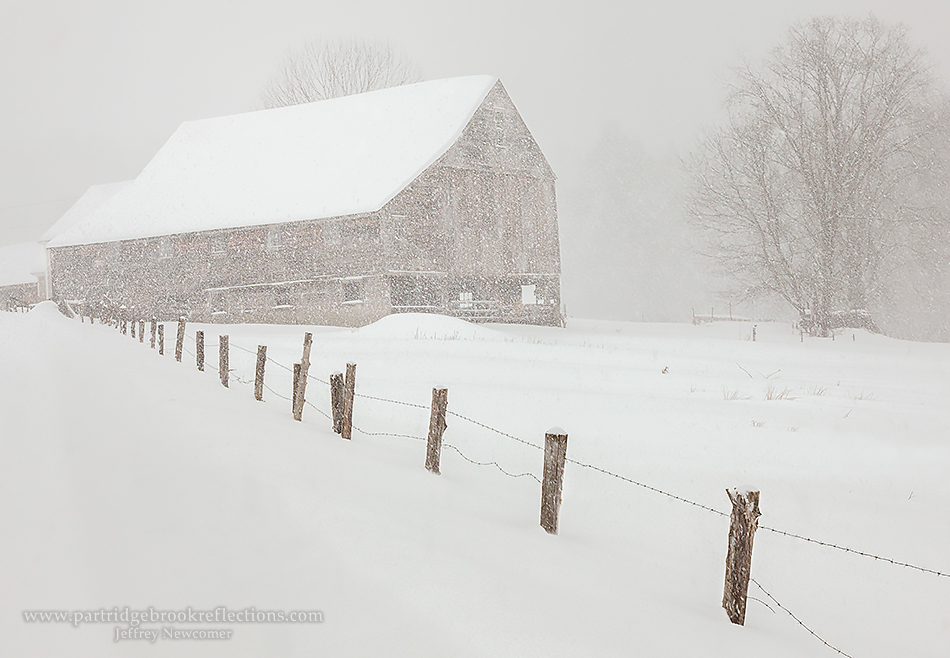
| Chesterfield New Hampshire Storm / Little Sharpening Needed |
 |
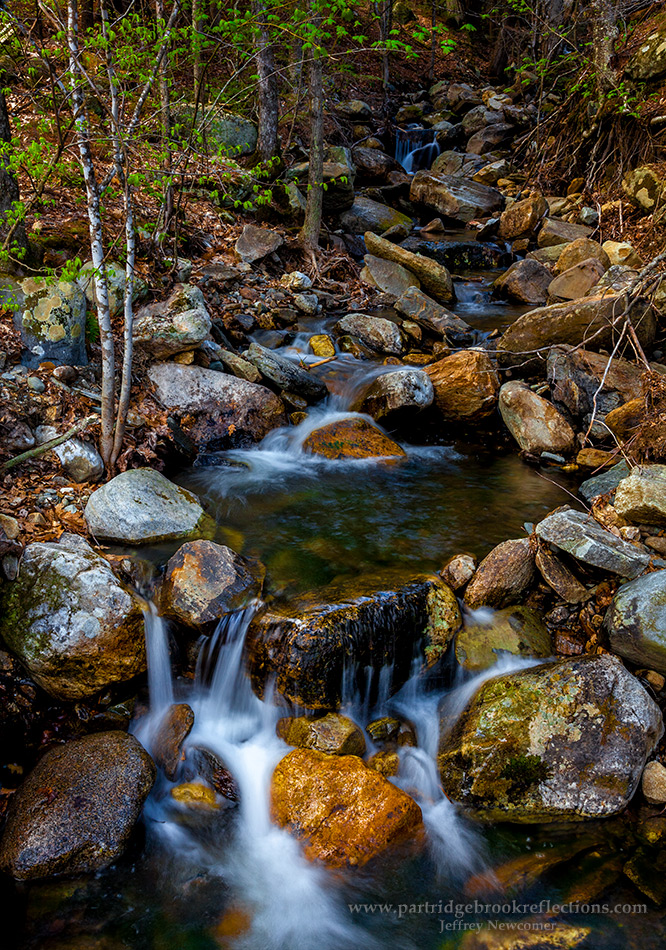
| Thompson Brook Alstead NH |
I
have a great group of students gathered around my dining room table for this
winter’s Adobe Lightroom Class. They are smart, energetic and ask really
good questions – LOTS of questions. As a result, after two classes on the
Library Module, I still have more to cover. I’ll finish up next week, and
then I hope to get a good start on the really fun stuff, Development. It
looks like my plan for a five-week course may expand to six. I don’t
care. Its winter, and what else do I have to do? Besides I love
talking about this stuff.
Since
I’m pressed for time and I’m working on it anyway, This seems like a good
opportunity to review a component of the development module which seems to one
of the most confusing, sharpening.
 |
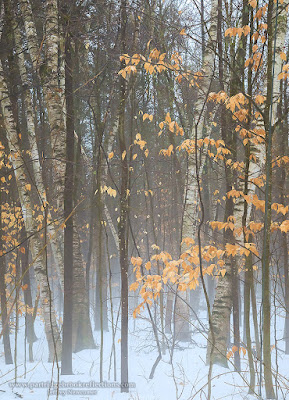
| Thompson Brook Reeds at 1:1 |
Why do
digital Images Need Sharpening?
 |
| Soft Edge |
When
examined closely, digital images always have some softness, which is most
noticeable along sharp edges. This is seen as I zoom in to 4:1 on a
collection of reeds, contrasting with the snow across from Thompson Brook in
Alstead New Hampshire. The individual
pixels of a sensor each record an average of the amount of light striking them.
If a razor-sharp edge between bright and dark, such as created by these
branches, crosses the middle of a single pixel it will record the average of
that dark and bright, that means it will show a middle gray.
 |
| Heavily "Sharpened" : Amount 150 |
Sensors can never
record a perfectly sharp edge but will have a scatter of gray tones along the
edge, and that softens the sharpness. Higher resolution sensors will have
less of this effect, but it will always occur on images recorded with pixels. Sharpening creates a greater contrast between
dark and light but doesn’t eliminate the effect.
“Sharpening”
 Softness
always happens, but editing programs such as Photoshop and Lightroom have
sophisticated tools to help reduce the appearance of softness. It is
worth stressing that Sharpening Tools make images LOOK sharper even though they
can’t actually sharpen the edges.
Softness
always happens, but editing programs such as Photoshop and Lightroom have
sophisticated tools to help reduce the appearance of softness. It is
worth stressing that Sharpening Tools make images LOOK sharper even though they
can’t actually sharpen the edges.
Sharpening
in programs such as Lightroom work by increasing the contrast between the light
and dark sides of an edge. It does this by lightening along the bright
side of the edge and darkening along the dark side. When done subtlety, the
results can appear as a sharpening of the edge, but when taken to excess halos
can become apparent and excessive noise can be created. The sharpening
controls are designed to find the best balance of this effect for each image, but, as you will see below, it is often helpful to understand theses controls by experimenting with their extremes.
---------------------------------------------------------------------------------------
Before You
Sharpen
Before
you dive into the Sharpening Panel a few points are worth mentioning.
Sharp
Focus
First,
no amount of sharpening can fully correct an image which is out of focus.
Start with a shapely focused image and if only parts of the image are in
focus, make sure that you zoom in on that part of the picture before
sharpening.
1:1
Generally
you should do the sharpening at 1:1 magnification, but I will be zooming in
closer to better show what is happening during the process.
 |
| 1:1 View |
Input
Sharpening
The
sharpening in the Lightroom Develop Module is called “Input Sharpening”.
It is your first pass at sharpening but shouldn’t be the last. In
Lightroom you are sharpening the image for the screen, but you should not over
do it. Images generally should receive a final “Output” sharpening after
they have been edited and resized for a particular purpose. An option
 |
| Export "Output" Sharpening |
is
available in Lightroom's Export Panel to sharpen the exported images for the
intended purpose. Choices include, sharpening for the screen (web), and for
printing to either Mat or Glossy paper. These generic adjustments often
work well, but I generally prefer to make my final output sharpening from
within Photoshop.
The
important thing to remember is that Lightroom's input sharpening is not your
final opportunity to sharpen the image, and therefore it is best to make the
adjustment on the conservative side. That being said, I like the way
Lightroom performs sharpening, and I find that I have to do a lot less in
Photoshop if my images have been pre-processed in Lightroom.
 |
| Gilsum, New Hampshire |
Noise
Reduction
Particularly
on especially noisy images, I find it helpful to do some preliminary noise
reduction before I sharpen. Noise reduction is performed in the panel
just below the Sharpening tools and is worthy of a separate discussion, which I
will save for next week, but when done first it can avoid the sharpening of
noise artifact.
The
“Science” of Sharpening
Finally
sharpening is not an exact science. Everyone must judge for themselves the
optimal balance of apparent sharpness and artifact. Despite what you may
read in many on-line articles, there is no magic formula for the best sharpness
in all situations. The Sharpening Tool Panel can help you better see the
effects but the final decision is yours.
---------------------------------------------------------------------------------------
The Sliders
 |
| Sharpening Area |
Ok,
you have zoomed into a focused area of your image showing some edges that
should be sharp. Now what? There are the four basic adjustment
sliders which all work together to get the best results, Amount, Radius,
Detail and Masking. Since RAW images always benefit from sharpening,
Lightroom sets initial default values to get you started.
 |
| Default Settings / Zoomed to 4:1 |
Amount
 |
| Extreme Settings / Banding along the edge |
Simply
stated, the Amount Slider controls the amount of sharpening. What that
really means is that it controls the extent to which an edge is accentuated by
bands of darkening on the dark side and lightening on the light side. The
higher the number, the greater the effect. If you move too far you will
be able to appreciate halos of light and dark on either side of the edge and you
will also see increasing noise. Raw images open with the Amount set at a
default of 25. I typically vary the value from 50-100 with images
containing a lot of fine detail often tolerating higher levels. The extreme settings, shown here for illustration, include both the maximal sharpening and the radius at its greatest extent.
Alt/Opt
 |
| "Alt" / "Opt" for Amount |
Sharpening
is strictly a luminance effect and not related to color Therefore the effect can be better seen by
holding down to “Alt” key (“Opt” on a MAC) to remove the distracting color.
The same key can be used on the Radius and Detail sliders to show their
effects more clearly. I have never found that this modifier makes a
significant difference in my ability to follow the effects of these
adjustments, but you should try it for yourself. As we will see the
Alt/Opt key has a somewhat different effect on the Masking slider.
Radius
Radius
controls the width of the bands of “sharpening effect”. The default value
of 1 means that the effect covers one pixel around the edge. Higher
values will widen the sharpening effect but also increase the appearance of
halos. I tend to leave this at its default of one and seldom go above
1.5. The best Radius setting will depend on the size of the image. A value of 1-2 works well on large images, such as the 4480 x 6720 pixels from my 5D Mark IV, but this is obviously excessive for sharpening done on my web images, which have a long dimension of 950 pixels. For the web, I generally start at a radius of 0.5.
Detail
 |
| High Detail / Heavy Noise |
The
Detail Slider controls the extent to which the finer detail in the image is sharpened.
At 0 only the most prominent edges will receive sharpening and, as the
value increases toward the maximum of 100, more of the fine detail of the image
will be affected and also image noise will be accentuated.
Masking
 |
| Masking with "Alt" / "Opt" |
The
Masking slider controls how much of the image receives the sharpening effect.
You want to limit sharpening to areas of important detail and mask it
from regions of naturally soft continuous tone such as sky or water. In
portraits, the areas around the eyes and mouth may benefit from sharpening but
not the skin of the cheeks and forehead. Holding down the “Alt” key
(“Opt” for Macs - must I keep saying that?!) while moving the Masking slider to
the right, areas of black will increasingly appear. The black areas are masked
from the sharpening. The slider can be
moved until the sharpening is restricted to those areas of detail where the
effect will be beneficial. Masking of sharpening can be done more
accurately with localized brushes in Lightroom or Photoshop, but the Masking
slider does a surprisingly good job.
 |
| Loose Masked Sharpening |
When
zoomed in closely you may notice that your masking does not tightly align with
the edges and, if there is excessive noise, this may show as a noisy border
along sharpened edges. This is seen most
clearly when closely zoomed and can be reduced by expanding the masking or
reducing noise by using the Detail or sharpening sliders.
 |
| Fringing of Noise following Masking |
---------------------------------------------------------------------------------------
My Approach
As
I said, there is no correct formula for sharpening and the best approach is to
go back and forth with the sliders to find a good balance. Remember that
this is Lightroom therefore and any changes you make can be reversed.
Nothing you do will explode your image. That's being said, here is
my rough approach.
 |
| Snowing Hill, Walpole, NH |
I
start with the Amount Slider and vary it to find a spot that begins to result
in unacceptable artifacts. Then I pull
back a bit. I generally keep the radius at one. I then reduce the
Detail slider from its default setting to
zero, which has the effect of softening the image. I then move the Detail
slider up until I start seeing fine or “high frequency” noise appear and pull
back slightly when the noise reaches that nebulous “unacceptable” point.
At
this point, I will use the masking tool to make final adjustments
in the amount of the image which is affected by the sharpening.
 |
| Final Settings / A Compromise |
My
final step is to turn the Sharpening Effect on and off using the switch at the
top left of the Detail Panel. This reassures me that I have actually
created the appearance of increased sharpening.
Sharpening
in Lightroom should not be intimidating. Just remember to use a light
touch, knowing that it will not be the last time that you will apply this
effect. Then trust your eye. Have fun.
Jeff Newcomer
partridgebrookreflections.com
603-363-8338