|
| Bug Light, Portland Maine |
I
just returned from my annual trip to the coast and, as usual, I am drowning in
images that require uploading, converting, renaming organizing and editing.
Why do I always come home with so many pictures?
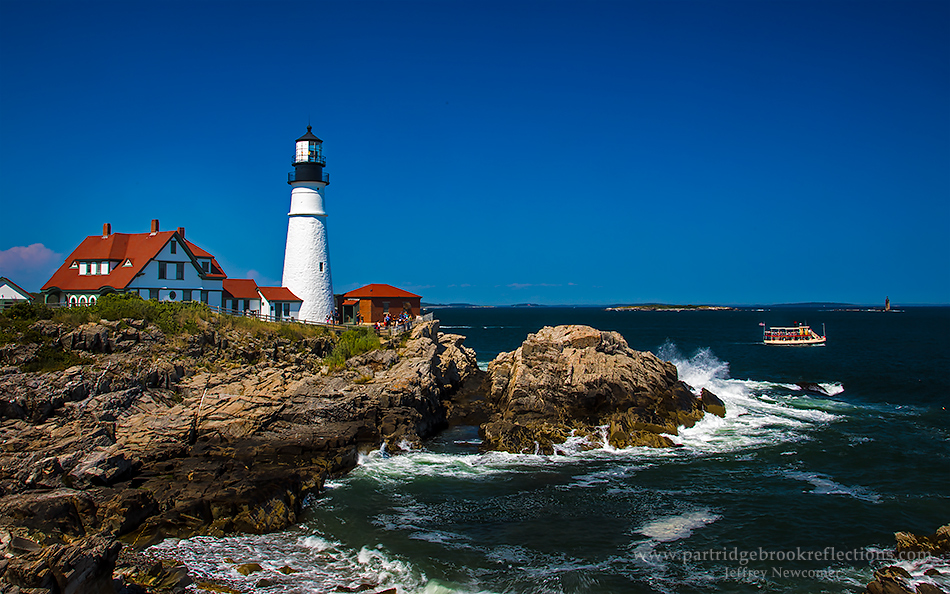 |
| Portland Head Light |
Living
in the landlocked center of New England I enjoy every opportunity to get back
to the coast. The rocky shores, the beaches, the quaint villages and of
course the proud lighthouses all offer photographic choices that are very
different from what I enjoy around home. I love the “Currier and Ives”
beauty of my Monadnock regions, but it is refreshing to be surrounded by
different opportunities to challenge my eye.
It
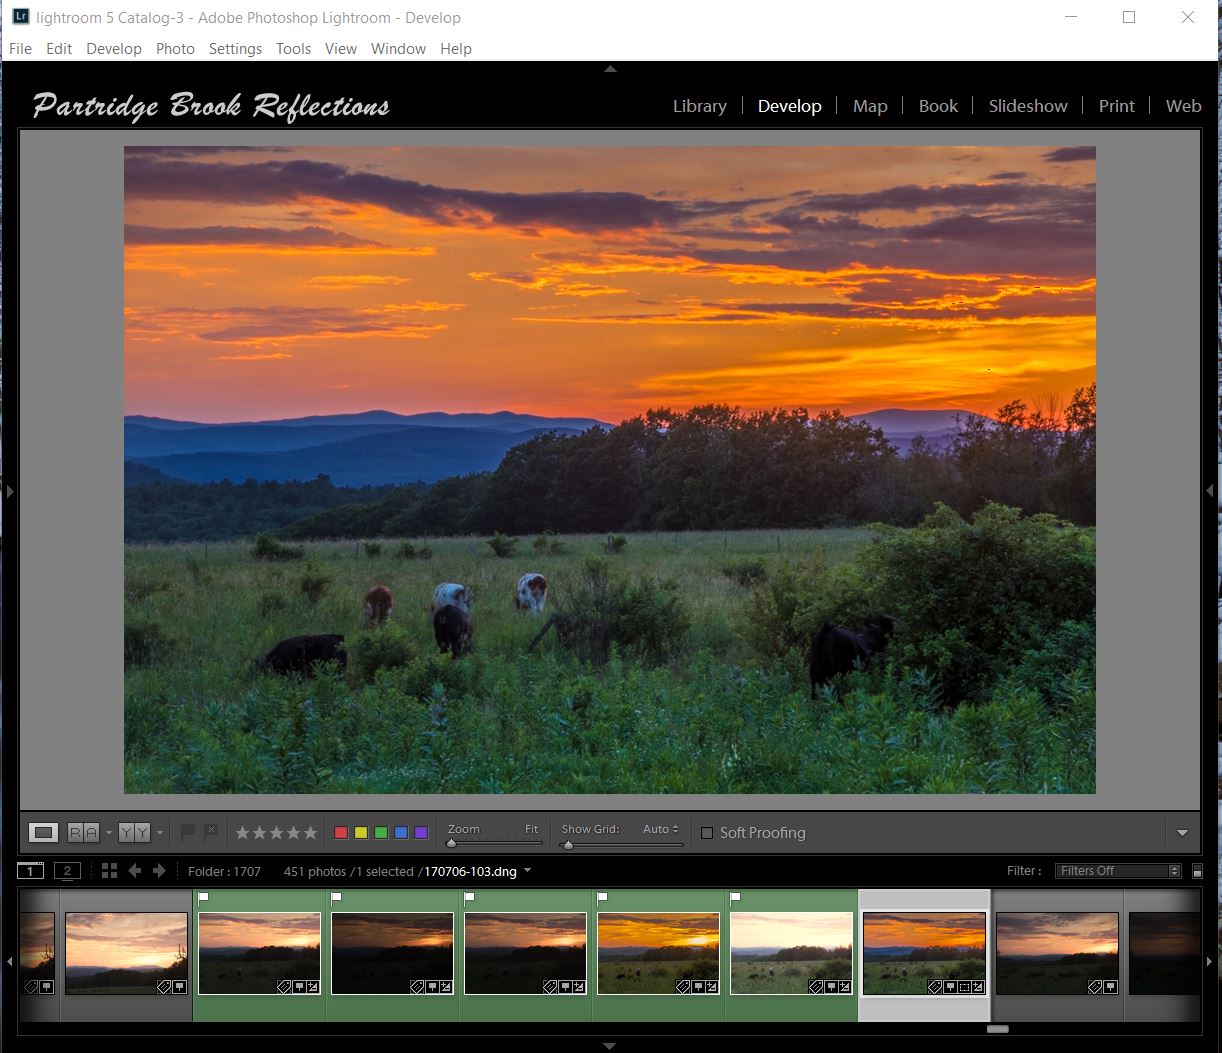
isn’t surprising that, returning from 5 days on the coast, I have much work to
do on the images. I will be sharing more of my favorites in future
articles, but today I want to ask a simple question that arose as I uploaded my
images. Why do I take so many pictures?
It
took me a couple of days to upload my images from my coastal tour.
Over five
days, I shot over 500 pictures which, at more than 20 megabits each, means that
I had more than 10 billion pixels to manage. I wanted to briefly discuss
why it is that I took so many pictures on this, and actually ALL of my shoots.
Is it justified or just a manifestation of the classic “Spray and Pray”
approach to photography. I would like to think that there are many good reasons
to come home with piles of images. Given the cheapness of pixels and the
availability of inexpensive options for their storage, failure to capture all
the images that are necessary is a disservice to the subjects
 |
| Floral Shore, Ogunquit, Me Five Image HDR |
Spray
and Pray
 |
| Change to "Spray and Pray" |
For
many casual photographers, digital imaging has encouraged the tendency to shoot
randomly, without careful attention to light or composition. This “Spray and
Pray” approach assumes that among the hundreds of images a few will come out
ok. After all, its only pixels and all the trash can just be deleted.
The problem is that this technique removes the photographer from the
process and without creative input it is impossible to craft the best images.
If I wish to argue that's I am NOT a spray and prayer, I must suggest a
few other reason to shoot mountains of pictures.
----------------------------------------------------------------------------------------
Different
Angles and Compositions
 |
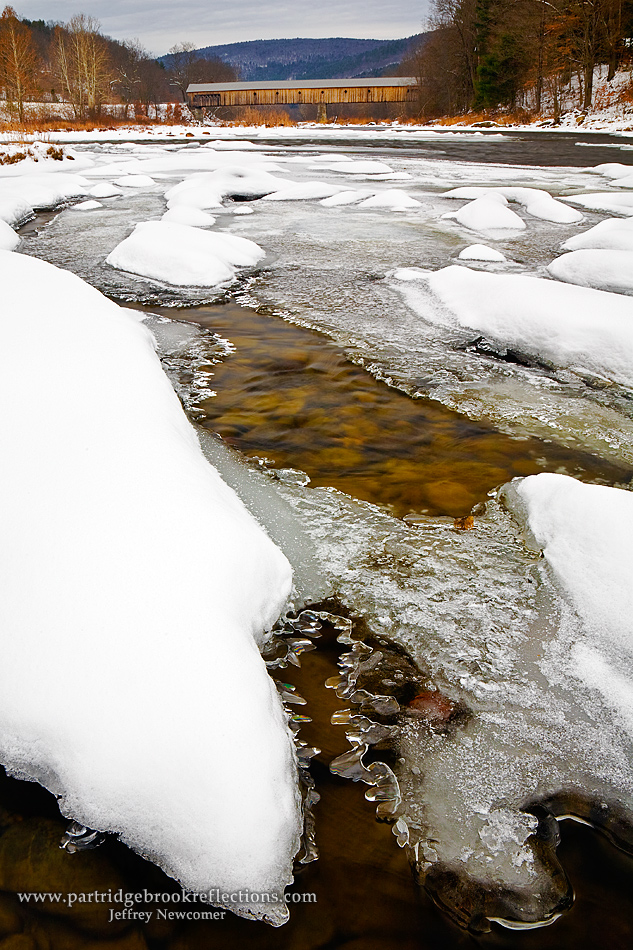
| Dummerston Covered Bridge |

-------------------------------------------------------------
Nailing the
Exposure, Bracketing, HDR
 Back
in my film days, I routinely bracketed my exposures. Transparency film is
famously unforgiving and I almost always grabbed one image above and one below
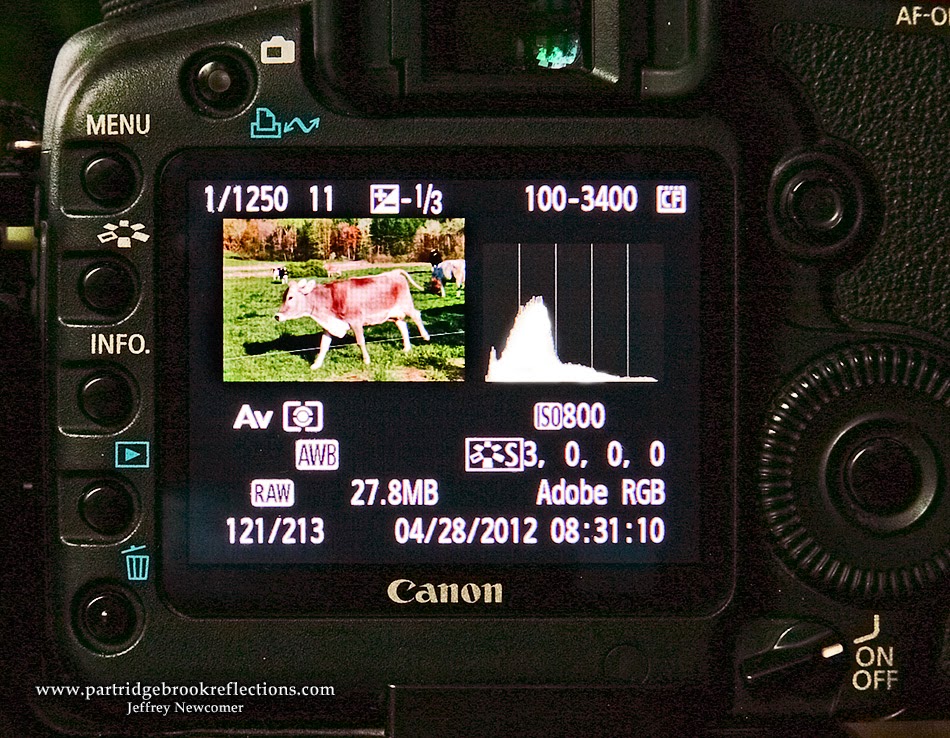
the metered exposure. Today, with the instant feedback of the Histogram,
it is much easier to nail the exposure. I still may take several images
until I get my “perfect” histo, and I admit that I am not as rigorous as I
should be in deleting the trial images – You never know.
Back
in my film days, I routinely bracketed my exposures. Transparency film is
famously unforgiving and I almost always grabbed one image above and one below
the metered exposure. Today, with the instant feedback of the Histogram,
it is much easier to nail the exposure. I still may take several images
until I get my “perfect” histo, and I admit that I am not as rigorous as I
should be in deleting the trial images – You never know.
HDR
This
leads to a discussion of the collection of multiple, varyingly exposed, images gathered  in
anticipation of crafting an HDR picture. This can require 5, 7 or more
images, or just two, one exposed for the shadows and another for the highlights.
It is somewhat like my old film bracketing, and on occasion, I will find one
among the series that has sufficient dynamic range to be used on its own.
Of course, that doesn’t mean that I will throw the others away – You
never know.
in
anticipation of crafting an HDR picture. This can require 5, 7 or more
images, or just two, one exposed for the shadows and another for the highlights.
It is somewhat like my old film bracketing, and on occasion, I will find one
among the series that has sufficient dynamic range to be used on its own.
Of course, that doesn’t mean that I will throw the others away – You
never know.
 in
anticipation of crafting an HDR picture. This can require 5, 7 or more
images, or just two, one exposed for the shadows and another for the highlights.
It is somewhat like my old film bracketing, and on occasion, I will find one
among the series that has sufficient dynamic range to be used on its own.
Of course, that doesn’t mean that I will throw the others away – You
never know.
in
anticipation of crafting an HDR picture. This can require 5, 7 or more
images, or just two, one exposed for the shadows and another for the highlights.
It is somewhat like my old film bracketing, and on occasion, I will find one
among the series that has sufficient dynamic range to be used on its own.
Of course, that doesn’t mean that I will throw the others away – You
never know. |
| Hubner Farm, HDR and Tone-Mapped |
-------------------------------------------------------------
Focus
Stacking
 |
| Three Layer Focus Stack |
Given
the exposure control offered by digital photography, most of my current
bracketing is based on obtaining a range of focus points. I originally
referred to this as “Focus Bracketing”, until I discovered that everyone else
was calling it “Focus Stacking”. “Stacking” refers to the ability to
achieve impossibly wide depth of field by stacking together image layers
with different focus points.
 | ||
| Perkins Pond to Monadnock - Deep DOF |
I often use focus stacking in situations in
which extreme DOF is the goal. For almost all of the rest of my Images, I
routinely grab at least three pictures, focusing on the foreground, mid-ground
and background. Again, I often find one of the images that captures
sufficiently sharp focus throughout, but of course I keep the other images- You
never know.
-------------------------------------------------------------
Capturing the Moment
 Any
time, when the scene is changing, multiple images can be important for catching
the perfect moment. Running animals, flying birds, and racing athletes,
are why your camera’s burst mode was created.
Any
time, when the scene is changing, multiple images can be important for catching
the perfect moment. Running animals, flying birds, and racing athletes,
are why your camera’s burst mode was created.  |
| Blue Heron Landing - Just the right moment |
Last
weekend, I was reminded of another use for bursts of images, the capturing of
the waves. Several years ago, I placed myself on a precarious
 |
| Best of the 70 |
outcropping
to shoot the waves crashing on the rocks of Pemaquid Light. It is never
possible to reliably predict the moment of the most dramatic waves. By the time
you see the perfect crashing wave, it is already too late to capture the event. The
best that can be done is to shoot bursts of what seem to the most promising
candidates. Before I was forced to run from the rising tide, I shot more than
70 pictures, to catch just two that were “heroic keepers”. That is
atypical ratio. I should have thrown the others away, but you never know.
 |
| Pemiquid Crash |
 |
| Bob's Floating Head |
Finally,
when taking group pictures, I always take multiple images. There is
always at least one person in every group shot who is talking, yawning or
picking their nose. As I click away, I ask the crowd to stay still, and
then I can usually find an acceptable picture of the nose picker to clone into
the final image.
-------------------------------------------------------------
Getting
a Steady Shot
 |
| Katy's Almost Perfect Technique |
I
go through a careful checklist of procedures to try to capture perfectly sharp
images. Equally important to sharp focus, is the requirement to hold the
camera steady. This is especially important when trying to handhold shots
with longer shutter speeds. My hand-holding technique includes the
positioning of my body, cradling of the camera and a careful finger roll
shutter release but still the pressing of the shutter button can introduce a
slight vibration.
 |
| Finger Roll Shutter Release |
-------------------------------------------------------------
The Picture Glut Equation (With acknowledgement to the Drake Equation)
|
| Bug Light, Portland Maine |
Ok,
that is just a partial list of my excuses for bringing home so many images.
I am sure there are others. Of course, many of these excuses can
apply to the same scene progressively multiplying the pixel pile. The Bug Lighthouse picture required about 90 images, including several for focus stacking of the lighthouse and rocks, many to obtain the best waves, and several to capture the ferry in the best location.

My
picture glut formula may be loosely expressed as:
Number of
Pictures
= (Different angles) x (Exposure Searching) x (Focus Stacking) x (Action
Bursting) x (Steadying Hand-Holding Bursts)
Of
course, not every scene requires all of these factors, but let's put in some
conservative, but totally reasonable numbers for an imaginary landscape scene:
(5
angles) x (6 exposures) x (3 focus points) x (0:no action here) x (2 hand
steadying) = 180 images for one location
It
is amazing that I came home from the coast with so few images. The point is that digital photography makes it practical to use as many images as is necessary to render the best representation of the scene. Although they both involve taking many pictures, this careful, deliberate process could not be further from the careless, random approach of "Spray and Pray".
Now
if I can only force myself to get rid of some of those extra shots!
BUT, You
just never know!
Jeffrey Newcomer