About Me

My photo
Spofford, New Hampshire, United States
Jeff Newcomer had been a physician practicing in New Hampshire and Vermont for over 30 years. Over that time, as a member of the Conservation Commission in his home of Chesterfield New Hampshire, he has used his photography to promote the protection and appreciation of the town's wild lands. In recent years he has been transitioning his focus from medicine to photography, writing and teaching. Jeff enjoys photographing throughout New England, but has concentrated on the Monadnock Region and southern Vermont and has had a long term artistic relationship with Mount Monadnock. He is a featured artist in a number of local galleries and his work is often seen in regional print, web publications and in business installations throughout the country. For years Jeff has published a calendar celebrating the beauty of The New England country-side in all seasons. All of the proceeds from his New England Reflections Calendar have gone to support the Pulmonary Rehabilitation Program at the Cheshire Medical Center. Jeff has a strong commitment to sharing his excitement about the special beauty of our region and publishes a blog about photography in New England.

Sunday, April 5, 2015

Negative Clarity for Landscape Photography


Let's talk about "Negative Clarity". This phrase sounds like it belongs in politics and not photography, but Clarity, both positive and negative, is actually a relatively new Photoshop tool that is remarkably powerful in affecting the contrast and mood and of your images

Mitch bathed in WAY too Much Negative Clarity

The clarity tool first appeared in Lightroom with version 1.1 and worked in a scale from 0-100, that is, only in the positive direction. In Version 3.3 the tool acquired negative values, ranging from -100 to + 100, and it is the effects of negative Clarity that I will focus on for this article. Clarity is also available in Adobe Camera RAW and, significantly, with Photoshop CC, it is found as part of the Camera Raw Filter menu.


Finding Clarity
The Clarity slider is found at the top of the list of the last three tools in the Basic Panel, above Vibrance and Saturation. Simply stated, Clarity has its effect on the mid-tone contrast of images. It adds
A little Positive Clarity
contrast without bringing out excess grain in the highlights and shadows, as might a general increase in contrast. It give a sense of sharpening without actually adding sharpness. Early versions of the Clarity adjustment tended to be bothered by Halos around areas of high contrast, but in the more recent editions of Lightroom and Photoshop this problem is much less noticeable. Increased Clarity works best when an image has a lot of detail in the mid-tones. I often use it to bring out the detail in my landscape images, but recently I have been impressed with how selective use of "negative" clarity can add a sense of depth to many of my images.

It should be no surprise that moving the Clarity slider into the negative range causes a decrease in mid-tone contrasts resulting in a softening effect. Applied generally, negative Clarity causes an increasingly prominent soft, watercolor-like appearance, but I have generally used it selectively to soften skin tones and blemishes. Taken too far it can create a plastic appearance, but used in moderation it can apply a beautiful soft air-brushing. Not that my beautiful daughter needs any air-brushing!

Abby Doesn't Need Negative Clarity


Selective Clarity
Selective application of either positive or negative Clarity can be applied in Lightroom or Adobe Camera RAW using the Adjustment Brush, but now that Clarity is available in Photoshop CC as part of the Camera Raw Filter it can be more easily controlled and finely adjusted. By using Clarity within a Smart Filter I can make adjustments in the intensity of the effect and control its application with a mask.


Early Spring Mist
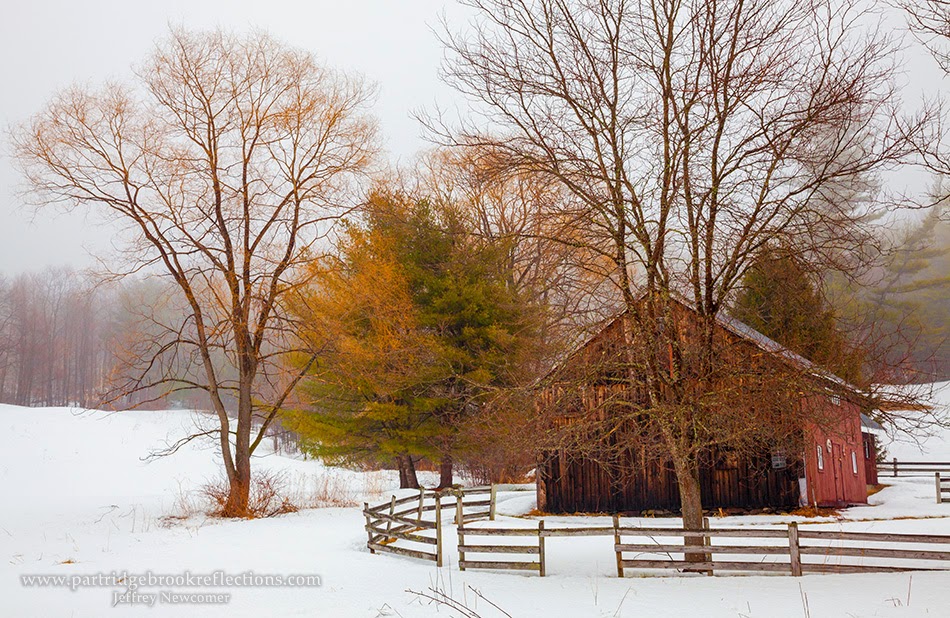

A few weeks ago I was out shooting in the soft mist that so frequently develops as snow meets the warm air of our early spring. I love this barn nestled in a valley in Chesterfield, New Hampshire and on this day the distant tree-line was diffused by the hovering mist. Back home I felt that the image didn't accurately reflect the depth of the scene as I remembered. I wanted to
Fully Applied Negative Clarity
accentuate the contrast between the sharp detail in the foreground barn and the softness of the distant trees. I started by creating a smart filter and then experimented with the application of a moderate amount of negative Clarity. The whole image took on a softening reduction in mid-tone contrast, but then I applied a gradient mask to block the
Selective Negative Clarity in a Smart Filter
effect around the barn and fine tuned the mask by painting out the effect in the extreme foreground. The great thing about using the Smart Filter was that I was able to further adjust the amount and location of the negative Clarity effect. In this case, as I often do with other layer adjustments, I dialed up the negative Clarity a bit higher than I felt was optimal and then pulled back on the effect by adjusting the layers opacity. In this image, I liked the way the Gradient mask allowed a more gradual application of the negative Clarity, but in other situations a harder mask works well.


Buckets


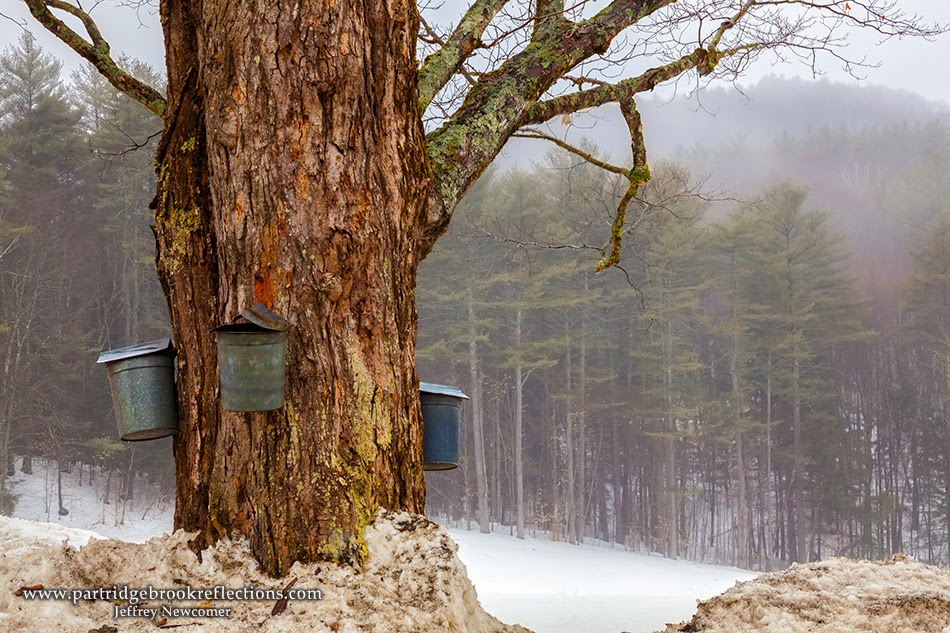
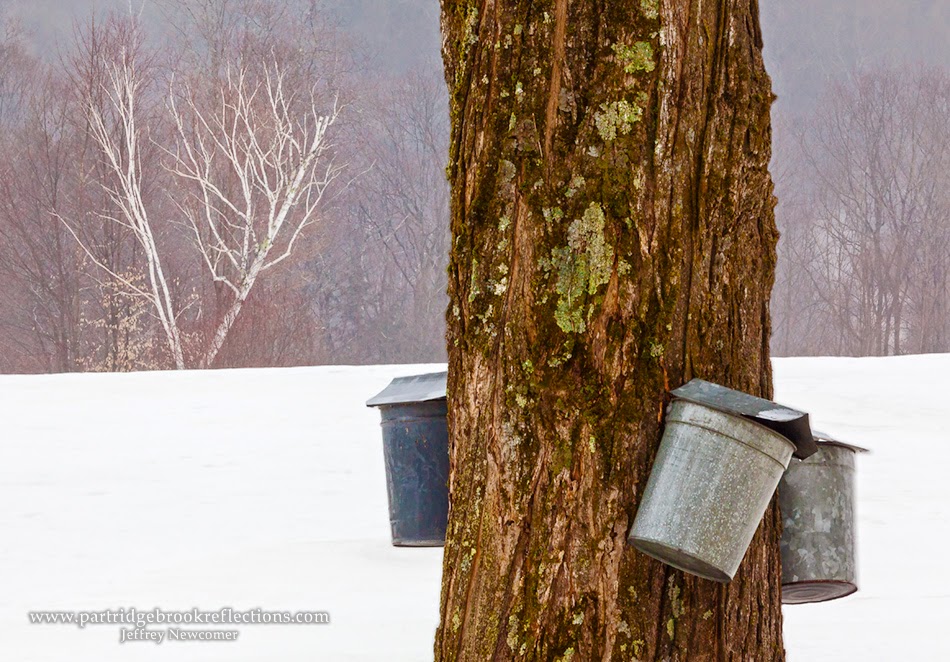
Sugaring season is upon us and I was recently shooting the buckets clinging to some truly majestic Sugar Maples in Dummerston Vermont. I wanted the tree to stand out against the pasture and the distant, mist shrouded, trees. I found that a touch of negative Clarity worked well. It was relatively easy to create a mask to
Negative Clarity Masked
shield the foreground tree and nearby snow piles from the softening effect and, here again, I was able to dial the negative Clarity slide up and down until I had what was just the touch of softness that I wanted. After reducing the size of the image for web use, I found that I needed to increase the negative clarity effect and the nice thing about using the Smart Filter was that it was no problem to make the adjustment. 


Is Photoshop great, or what!


Leaves with a Touch of Negative Clarity
There are other approaches to adding depth to images. Backgrounds can be softened with the addition of a selective
Gaussian Blur, or contrast reduced by decreasing the highlight and black setting in a levels layer. Each has its own unique effect, but I have enjoyed my recent discovery of the soft feel that results from subtle selective adjustments in negative Clarity. Like any photoshop adjustment, it is possible to overdo negative Clarity. It is all a matter of taste. Applied to excess it can lead to a an unnatural sense of viewing the scene through grounded glass, but subtle adjustments can add warmth and depth to an image. Give it a try, if for no other reason than it is a fun term to use especially when you can bathe a picture of your local senator or representative with well deserved veil of softly obfuscating "negative Clarity".
 

Sunday, March 29, 2015

Controlling the Long Lens Shudder


My Eagles.  Shudder Controlled

Lessons Learned While Capturing My Eagles

Over the years I have prefaced every one of my articles which show birds with a disclaimer insisting that I am NOT a bird photographer. I've made it clear that I generally consider birds to be feathery obstructions that occasionally get in the way of my landscapes, but as I think of my photography projects in the last
Juvenile Eagle Approach
couple of years it has become obvious that I have reluctantly evolved into a landscape photographer who occasionally takes pictures of birds. On purpose! For me, the conclusive evidence came recently when I found myself sitting in my car for three and one-half hours waiting forlornly for a Bald Eagle to return to its distant nest on the Connecticut River. As I shifted my sore butt for the hundredth time, It suddenly struck me that this was some serious birding stuff! OK, I give up. Birds are amazing miracles of nature with incredibly intricate patterns of feathers and spectacular colors. I can hear all the smug laughter from all my birding friends, but I'm still not willing to crawl around in the mud to capture these little guys. I still like to keep my birding civilized.

My Eagles

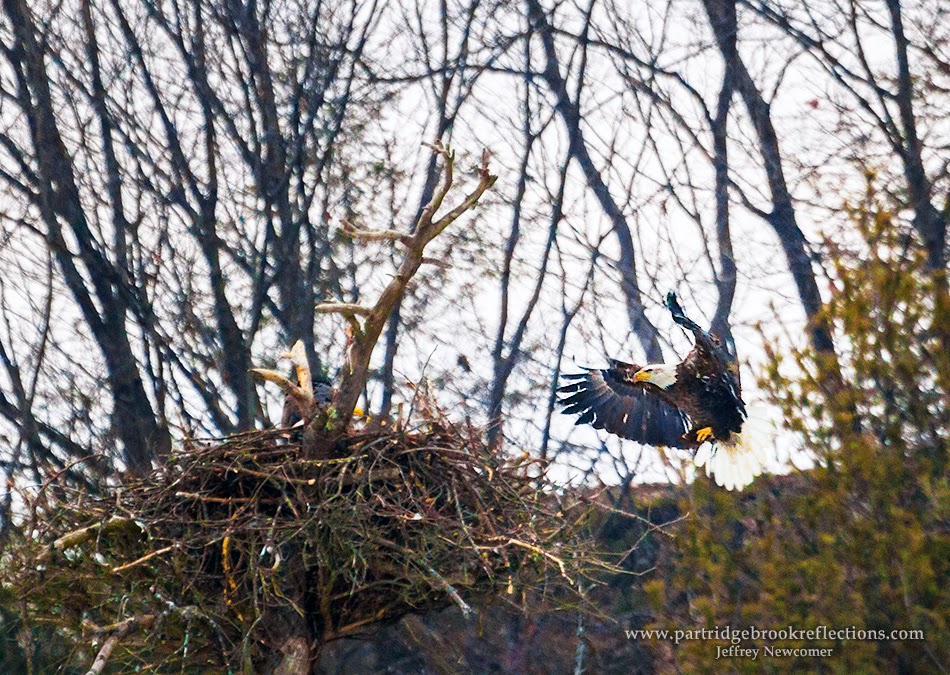
Over the last few years I have developed a sense of attachment to what I consider my local Bald Eagles. We have an impressive nest high atop a dead tree on the Dummerston side of the Connecticut River across from the River Road in Chesterfield New Hampshire. For many years, the nest has been home to a pair of Bald Eagles and over the last three years I have been watching, sadly unsuccessfully, for eagle hatch lings to emerge. Still it is a great place to observe Eagle behavior and to catch these majestic birds as they fly too and from their perch. It has been through my various misadventures trying to capture these birds that I have learned a great deal about the challenges of bird photography.

I remain a landscape photographer who only occasionally, and mostly ineptly, tries to capture birds, but, with profound apologies to my many skilled birding friends, here is are a few of the things that I have learned. This discussion is primarily focused on my stumbling attempts to picture the magnificent Dummerston Bald Eagles.

Size Does Matter
The greatest challenge is distance. The nest lies across the Connecticut River nearly 250 yards away and, even with my nice 400mm lens, the birds are frustratingly small on the sensor. As I
cropped in on the images I lost most of the detail in the feathers and
Through the Vermont Trees
the digital noise, from high ISO levels, was magnified. I tried approaching the nest from the Vermont side of the river, but after a slog up the steep sandy bank of a quarry, I found that the nest was about as distant as it was from the New Hampshire side and was only partially visible through dense forest. I may try shooting from my kayak this summer, but the challenge would be to hold steady in the surging current without dunking my precious camera in the muddy water. The obvious solution was a longer lens.


Longer Glass / Tighter Wallet

Distant Nest
My choices included a Canon 800mm, f5.6 lens for over $13,000 or I could pay a little less for an off brand lens. My new found birding enthusiasm doesn't stretch to 13k, so I ended up getting a Canon 2x Tele Extender for a little over $400. The combination gave me an 800mm reach and I found the sharpness to be acceptable. The disadvantages included the inability to open the aperture beyond f11 and the loss of auto-focus. The lack of auto-focus remains a major problem when trying to capture birds in flight, but less of an issue when I can manually focus while locked in on the distant nest.

Over the last two seasons I have been aiming my 800mm on the nest from the edge of the River Road in West Chesterfield. I firmly attached the lens to my tripod and then waited for the action to begin. I have captured a few nice shots, but my results have often been disappointing. Even with the longer lens the images required considerable cropping in post and too often the images were either uniformly blurry or obscured by excessive noise. I came to understand that a number of factors were affecting my results, that they were all interrelated and often confounding. A discussion of the effects of aperture, shutter and ISO in this situation provides a nice illustration of how these factors must always be balanced to find the best results.

The Challenges


Critical Focus

Even at over 200 yards the depth of field of my 800mm lens is 
quite shallow. To reliably achieve sharp focus on the nest I needed to zoom in on Live View in my LCD screen and, even then, I could only hope that the Eagles would approach the nest within a similar plane. Sometimes I got lucky. I generally used f 11 which is the widest aperture possible with this combination of lens'.  I could have slightly broaden my depth of field by stopping down on the aperture, but smaller f stops would make it more difficult to use the fast shutter speeds needed to freeze the action :


Stopping the Action


The advantage of being able to focus on the nest was that I could catch the eagles in flight as they approached or departed. I found that I needed to use a minimum shutter speed of 1/600 - 1/800th of a second to stop the birds in flight, but, except when the birds briefly hovered before landing, this wasn't fast enough to freeze the motion of their wings. These fast shutters were only possible with increases in the ISO setting :


High ISO and Noise

Magnified Noise


The widest aperture available at 800mm was only f11 and, especially in dimmer light, this required ISO settings of 800 or higher. Rarely, on exceptionally bright days I was able to get away with an ISO of 400. These high ISOs led to difficulties with digital noise, a problem that was magnified by the need to zoom in on the images in post. It was always a delicate process, balancing noise reduction against the loss of important detail.


Photography is always about finding the best balance between competing factors and I believe I'm beginning to understand how to manage that critical balance for my eagles. I first nail the focus to the nest and then try to find the optimal compromise between the settings of shutter, aperture and ISO, but the final problem was controlling camera motion and at 800 mm that was a tougher challenged.

The Shudder

Despite paying careful attention to all of these factors, I was still

Camera Shudder Mess - Great Shot Missed
getting inconsistent results, often coming home with images that were uniformly fuzzy. The obvious explanation was camera motion. At 800mm the camera is exquisitely sensitive to even the slightest motion. I learned this by watching the zoomed-in image on the Live View screen. Even with the lens tightly attached to a sturdy tripod, I found that the slightest puff of wind would send the image jiggling. The wind along the Connecticut River was seldom calm and the fully extended lens with its large lens hood served as an excellent sail.

Solutions?

I have discussed in previous articles techniques to stabilize a camera for hand-held shooting, but with 800mm you definitely need a tripod and also some seriously careful technique. 


  • Who Needs a Tripod?
  • Steadying Your Low Light Photography


Juvenile Eagle Approach

My first approach was to set up my tripod close to the car where I could partially shield the camera with the opened car door. I switched to my heavier aluminum tripod and added extra weight by hanging my camera bag to the center post, but my results were still inconsistent. The wind seemed to be the major issue and It finally occurred to me to bring the camera and lens into the protection of the car. 


The Solution ?
I set up my tripod inside the vehicle with only the end of the lens hood protruding beyond the partially raised window. I firmly rested the lens on a foam window cradle that I had carved some years ago to use as a support for hand held window shots. I carefully set the focus with Live View and then fixed it with a piece of gaffer's tape. I use a cable release to avoid added jiggle while triggering the exposures. The cable also allowed me to remain perfectly still as the birds approached.
Nesting Materiel

I have I experimented with other measures to further increase stability and reduce shudder including using a small bungee cord to tie down the proximal portion of the lens and switching to live view to freeze the mirror as the eagles approached, but these additional measures seemed to add no significant improvement over the effect of moving the camera into my mobile blind. Of course being enclosed within the car provided the significant added advantage of making it more comfortable to endure the hours of waiting for the action to arrive. None of this could make up for the fact that the eagles remain a long freaking way away, but my results have been the best that I have been able to obtain.  Check the image at the top of the article.


In the trees, Sharp focus, No Shudder


What Better End Image?


There is nothing more frustrating than to spend hours waiting for the eagles to return only to get home to find that the images are a fuzzy mess. I now feel I have an approach which should provide me with a better chance of capturing decent images. All that is left is to keep returning in hopes that we may be witness to a successful breeding season. I've also got some solid leads on other area nests that may allow a closer approach.


My god! I sound like a freaken birder!
QUICK!  -  I need a tree to photograph!


Jeffrey Newcomer
Partridgebrookreflections.com

Sunday, March 22, 2015

Dreaming of Spring Album


shades of green


We are beginning to experience occasional days when the temperature


sap buckets
Buckets Mean "Enough is Enough"!
actually struggles above 32 degrees. It is wonderful to see all that water flowing off my roof and not into my living room, but most days, and all of the nights are still cold and there remains a couple of feet of snow on the ground. We are all desperate for real spring. I refer to this time of year as the "Enough is Enough" season, and, as in past years, this is the time when I really need hope and start looking back to the glory of last year's spring. 


dog in the field
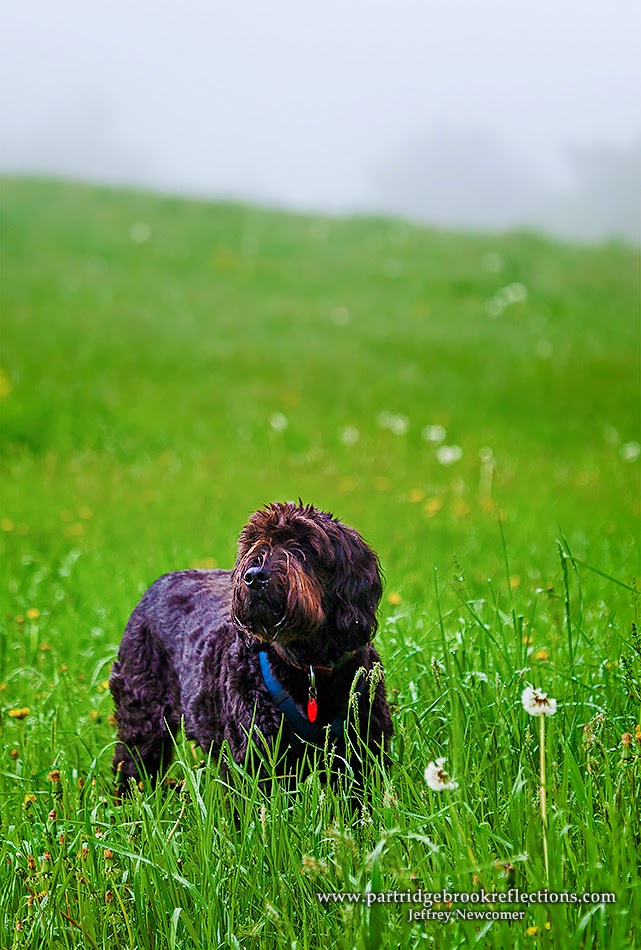
Nellie, "Emerging Fauna"


In this week's New England Photography Guild Blog (to be published 3/23/15), I review some of the special aspects of last spring, including macro images of the season's first emerging buds, a study of the infinite shades of green in our forests and an exploration of many of the most well known and some of the more obscure of our regional waterfalls. It's what I think of as my desperately needed "Spring Therapy" and to expand that, I include more of last year's images. So sit back, relax, swat a few imaginary Black Flies and Enjoy.


First Emergence 


first flowering


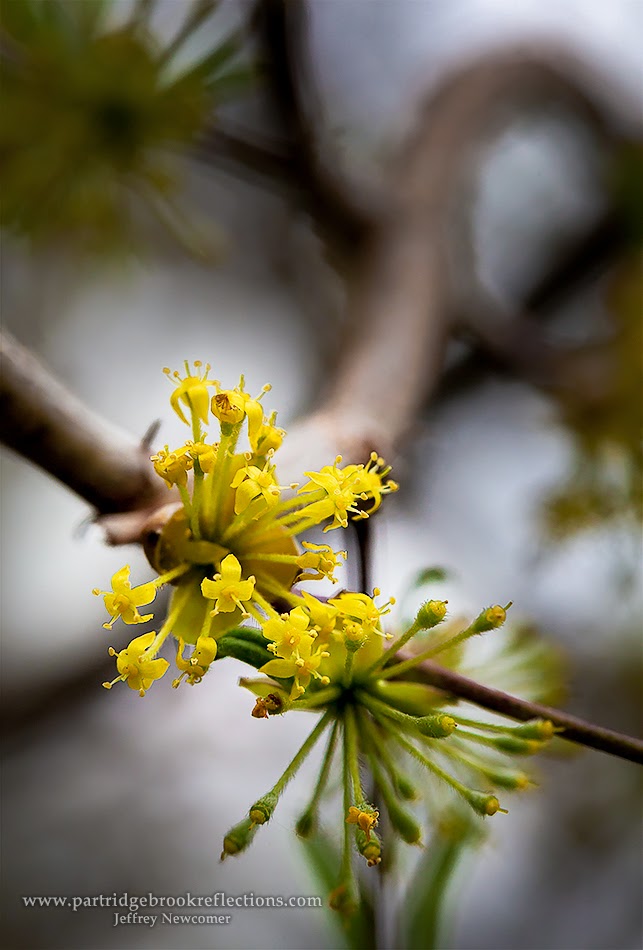
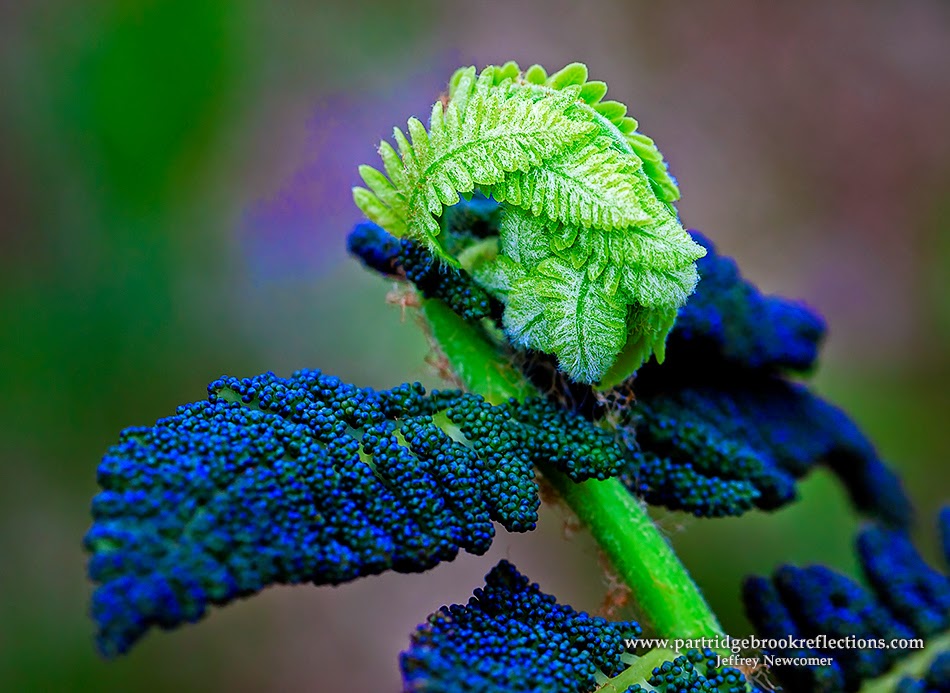
The emergence of the first buds is one of the earliest signs of the coming of spring. These tiny glimpses of green are often bizarre and show little resemblance to the mature foliage. They last only a few days but while around, they are great subjects for "other worldly" macro photography.


fern green


The Green Spectrum, Our Second AutumnSpring leaves

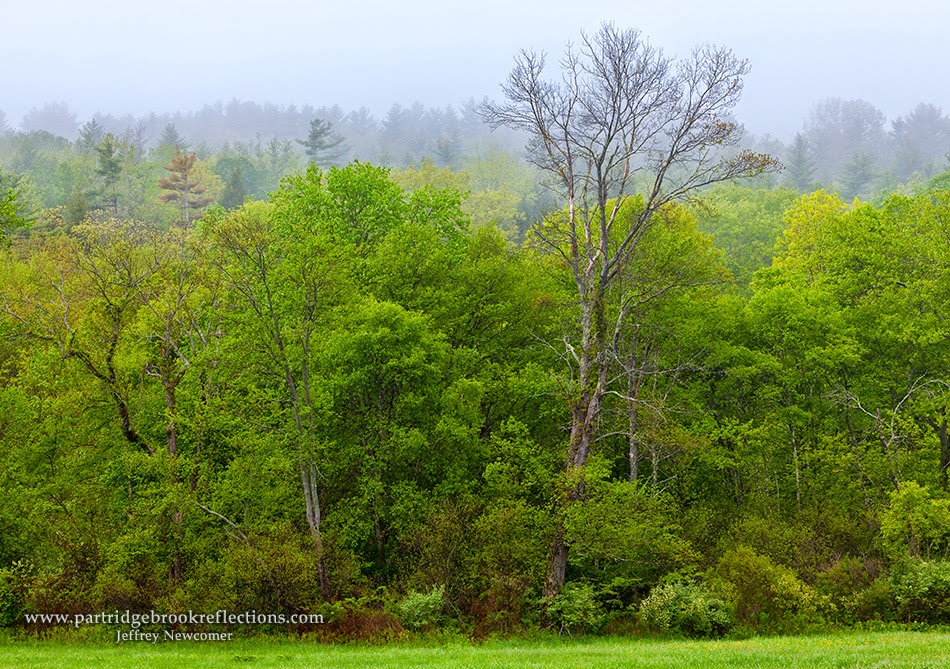
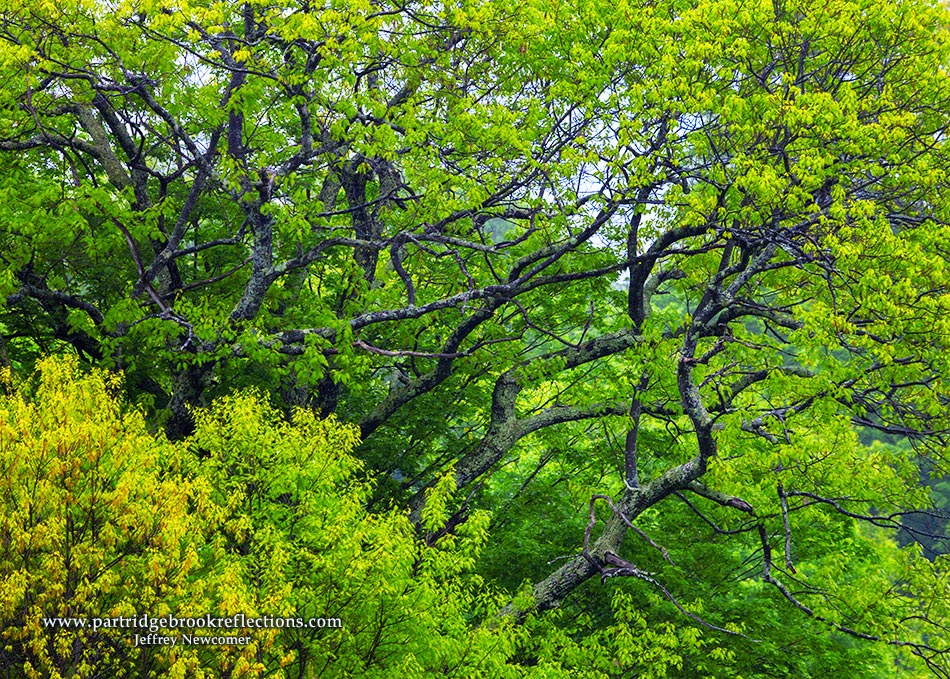
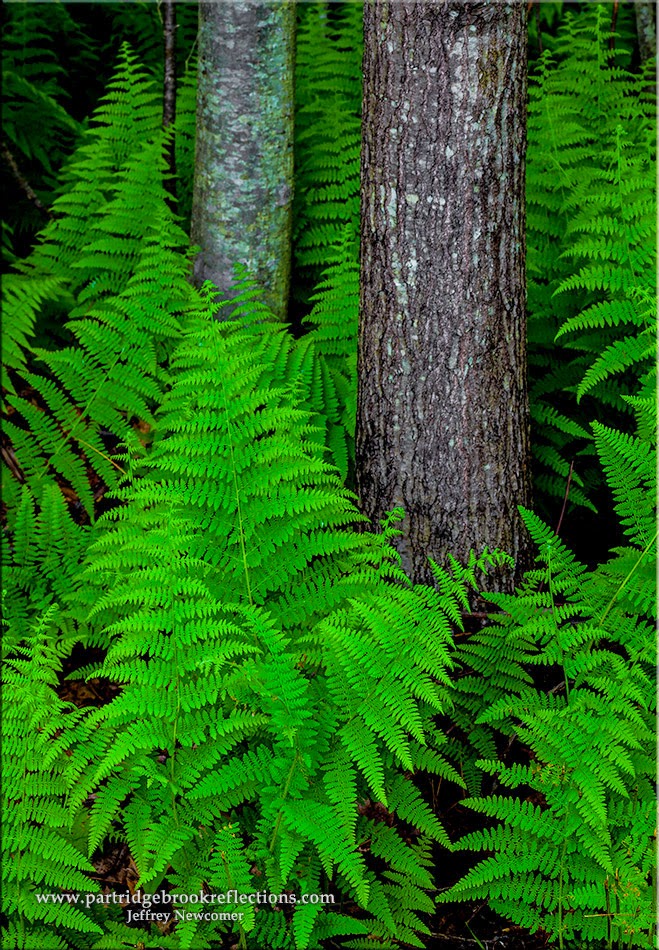
The delicate early spring greens of our forests appear in a dizzying variety of shades. They are the epitome of the freshness of the season.  To me, the colors are more exciting than those of our garish autumn, especially since they represent a glorious begining rather than the harbinger of a dying season.


Forest ferns


Falling Water Season


Stckney Falls, Dummerston, Vt
Stickney Falls, Dummerston, Vt
Before we can get to the new buds and the fresh green we have to make it through the oppressively gray and brown mud season. It is literally a tough and sticky slog. One of the few saving graces of this

Ashuelot Gorge, Gilsum, New hampshire
Ashuelot Gorge
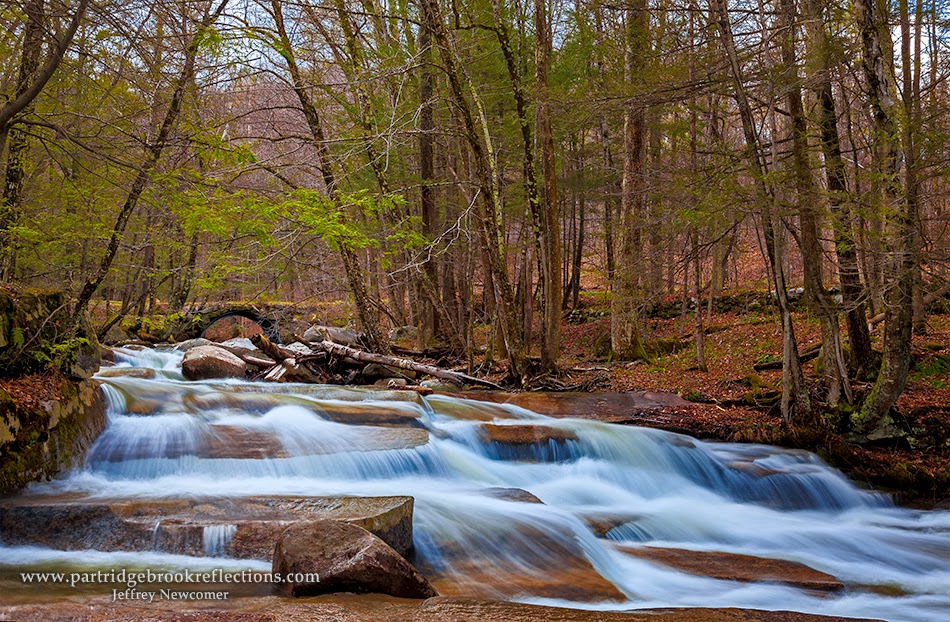
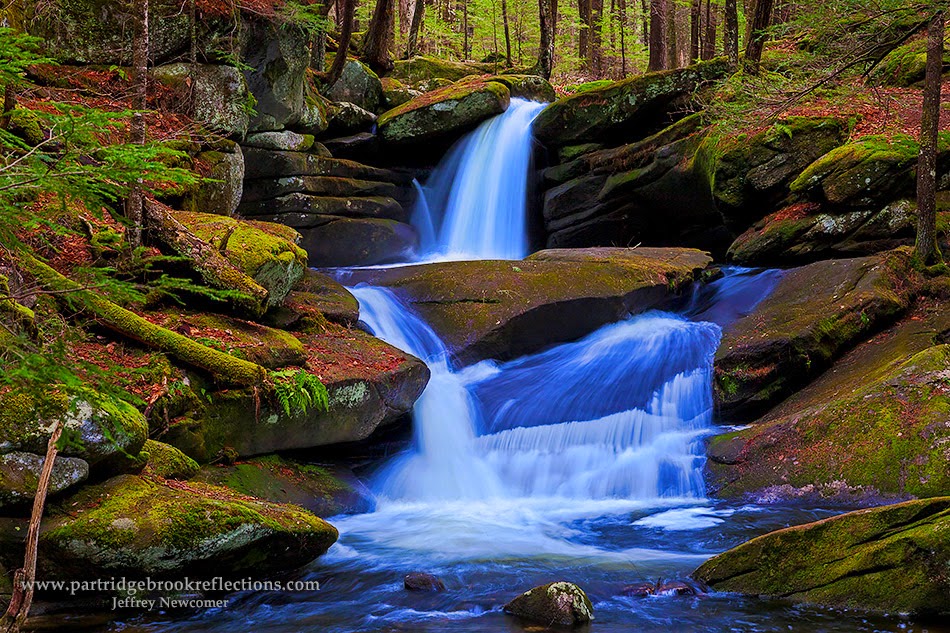
miserable time is that in the early spring our many waterfalls show themselves to maximum beauty and drama. Last year I spent much of the spring highlighting many of my favorite regional falls and also searching for more obscure waterfalls about which I had only heard rumors.


Catsbane Falls, West Chesterfield, New Hampshire
Catsbane Brook Falls,
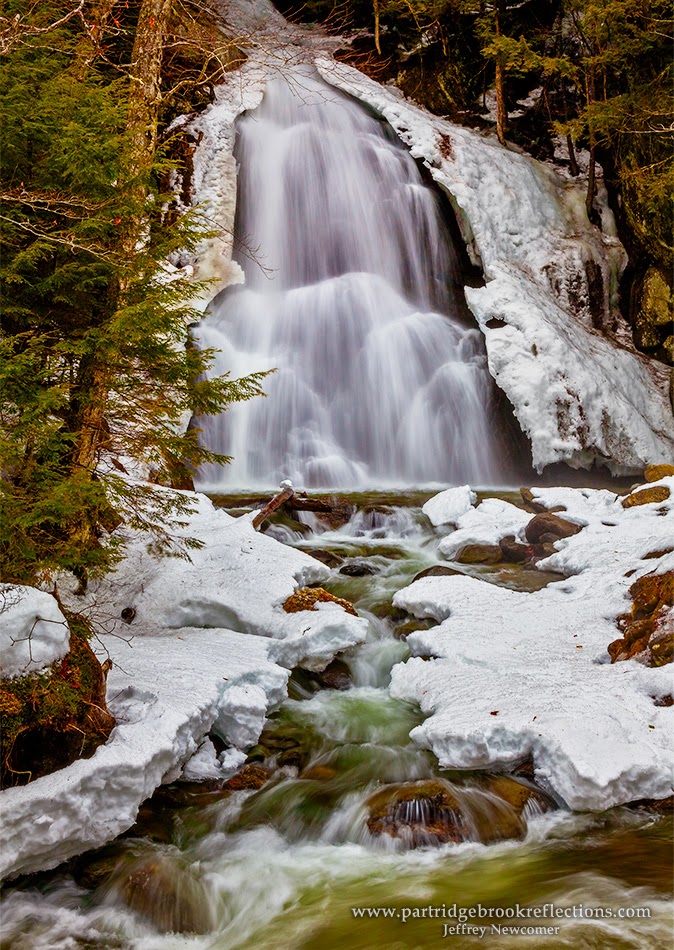
Moss Glen Falls
Moss Glen Falls, Granville, Vt


Pulpit Falls
Pulpit Falls, Winchester, NH


Spring Flowers
Spring wildflowers 


Spring is about flowers, both wild and cultivated. On hikes through our forests I am always scanning the banks for these lovely surprises, but I also enjoy touring local greenhouses for more amazing color.


Trillium, Fox Forest, Hillsborough, NH
Trillium


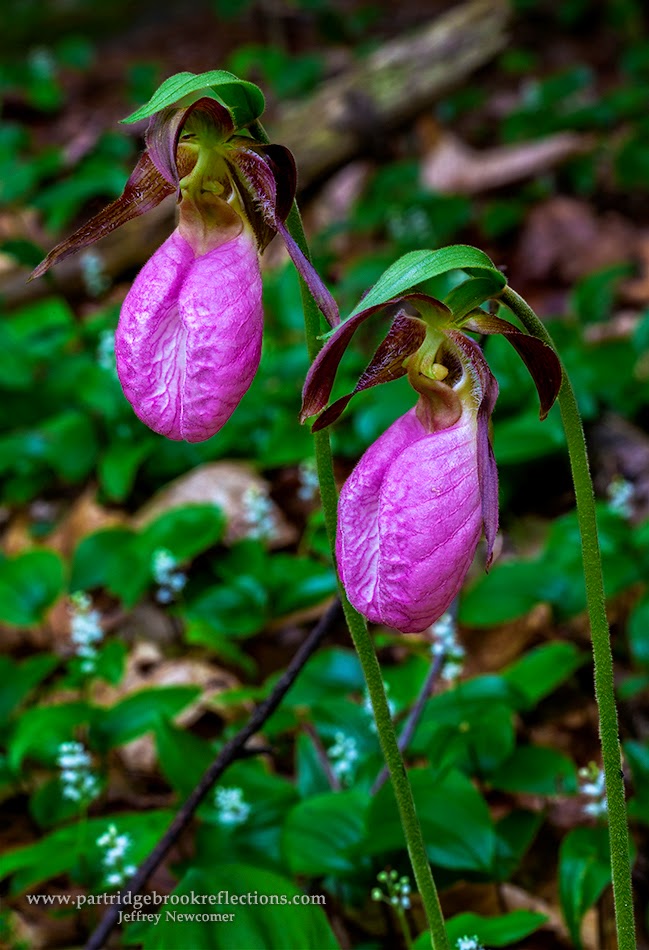
Lady Slipper
Lady Slippers
dandelion, yellow pasture
Depth of "Field"


Emerging Wildlife

horse grazingAlong with the flora, spring is notable for the emergence of the regions fauna. Both wild and domestic animals revel in the burgeoning green of our forests and pastures. It is a pleasure to witness their excitement including among the wild turkeys, foxes, deer and the Bald Eagles along the Connecticut River. On our farms, the cows, horses and sheep all happily gorge on the fresh green grass.


eagle Landing
Eagle Landing
Dummerston Vt


I feel better now. Get ready, it's on the way, but in the meantime let's dream of spring.
spring buds


Dreaming of Spring,  New England Photography Guild Blog


Partridge Brook Reflections Spring Gallery


Spring Links from My Blog


Jeffrey Newcomer
Partridgebrookreflections.com


Sunday, March 15, 2015

Road Tunes for Photography

 
Hitting the Road
I am a great fan of the photographic road trip. Of course, It is interesting to carefully plan a shoot and settle in to the ideal spot
awaiting the perfect moment when the light is at its dramatic best. The results can be spectacular, but for pure photographic adventure, I still prefer to hop into the car with no specific itinerary in mind and head off on a scenic exploration to who knows were. It helps that I live in a corner of New England which is rich with visual opportunities stretching to every possible point on the compass. When I feel the urge to escape all I need to do is grab my camera bag, attach my GPS to the windshield, stick Nellie in the passenger seat and pick a direction. I'm ready to go. Well, almost ready, only one decision remains. What music will I que up?


I wasn't sure how to illustrate a blog about road tunes, so what you're getting is, what else, pictures of roads. 

A discussion of road tunes may seem out of place in a photography blog, but I have found that the choice of music for a photo shoot
can be as important as any decision regarding equipment, route or lighting. On routine, non-photographic, driving trips I enjoy listening to the spoken word. Whether it is "Books on Tape", podcasts or "All Things Considered", I find that the conversation works wonderfully to make the driving time slip away, but it all changes when I add the demands of a rolling photo shoot. On driving photo tours I am constantly scanning between the road ahead to the landscape flowing by. I'm looking for anything of interest and beauty as well as following foreground and background element as they continually shift in relation to one another. Of course, my primary focus has to be on safety along the road, but It is a complicated visual dance and the added distraction of trying to follow an involved verbal narrative is just too much to manage.I quickly learned that background music was a much better accompaniment, but what kind of music. The choice of road music will be a very individual matter, and it is worth the effort to assemble your own personal playlist. Selections will undoubtedly range across the broad range of musical genre, although I just can't imagine that anyone would pick gangster rap as an accompaniment for a cruise through New England's bucolic landscapes. Personally, I enjoy listening to rock and jazz, but these musical styles don't seem to work when I am scanning for photographic opportunities.  Perhaps they would be better if I was capturing gritty urban landscapes, but, in the country, I find that I do better with music that floats in the background and doesn't demand my active attention. At best the music should feel like a movie sound track written to match the beauty of my surroundings. The right music blends audio and visual perception to create, all around me, a strong sense of the beauty and drama. Remarkably, I have found that the sounds have a profound effect on how I am able to recognize the way aspects of the natural world interact to create special visual moments.


It never ceases to amaze my old brain that I can store most of my musical library on my iPhone, a device smaller than a pack of cards. With thousands of tracks available, the only struggle is to choose the playlist. I have found that what works best for my photography trips falls into two broad categories.


Classical
Not all classical pieces are supportive of a sense of peaceful observation of the passing splendor, but It is easy to find classical
tracks that work well. Bombastic selections, such as the first movement of Beethoven's Fifth Symphony don't leave much cognitive space for subtle visual input, but the second movement of the fifth has a perfect pastoral feel. Aaron Copland is one of my favorite "road" composers, especially his Appalachian Spring and the Theme and Variations on Simple Gifts. Other favorites include Mozart, Handel, Vivaldi and Corelli. For some reason the simple, but sweatily evocative adagio from Corelli's "Christmas Concerto" is a special love of mine.


Movie Sound Tracks
Perhaps because they were written specifically to augment visual presentations, I find many film scores to work well as road accompaniment. Again it is the purely instrumental pieces that allow me to concentrate on the landscapes. Of course John Williams is the acclaimed master of this genre, including his scores for Lincoln and Warhorse. Other favorites include Howard Shore's music for The Lord of the Rings Trilogy and, perhaps somewhat surprisingly, Randy Edelman's heroic score for Gettysburg. There are many others I could mention, but I'm always looking for more scores to add to my list. Whenever I watch a new movie, I try to notice the background music in search for more road music to add.


What I DON'T Play

Once again it is all a matter of individual taste but, even though I may love certain music in other situations, my road playlist does not include jazz, rock, country, most folk and of course rap. Rap is almost as bad as new age, seriously? I want to stay awake on the road.


I have included a short slide show with just a few brief snippets of some of my favorite road tunes. The key is to understand how the right music can augment your ability to make the visual connections that will allow you to recognize and appreciate the beauty that is flowing by. So get your playlist together, saddle up and hit the road.


Jeffrey Newcomer
Partridgebrookreflections.com